
Last Updated: August 15, 2025
Author: Laura Tuttle

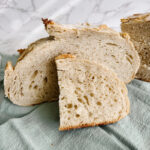
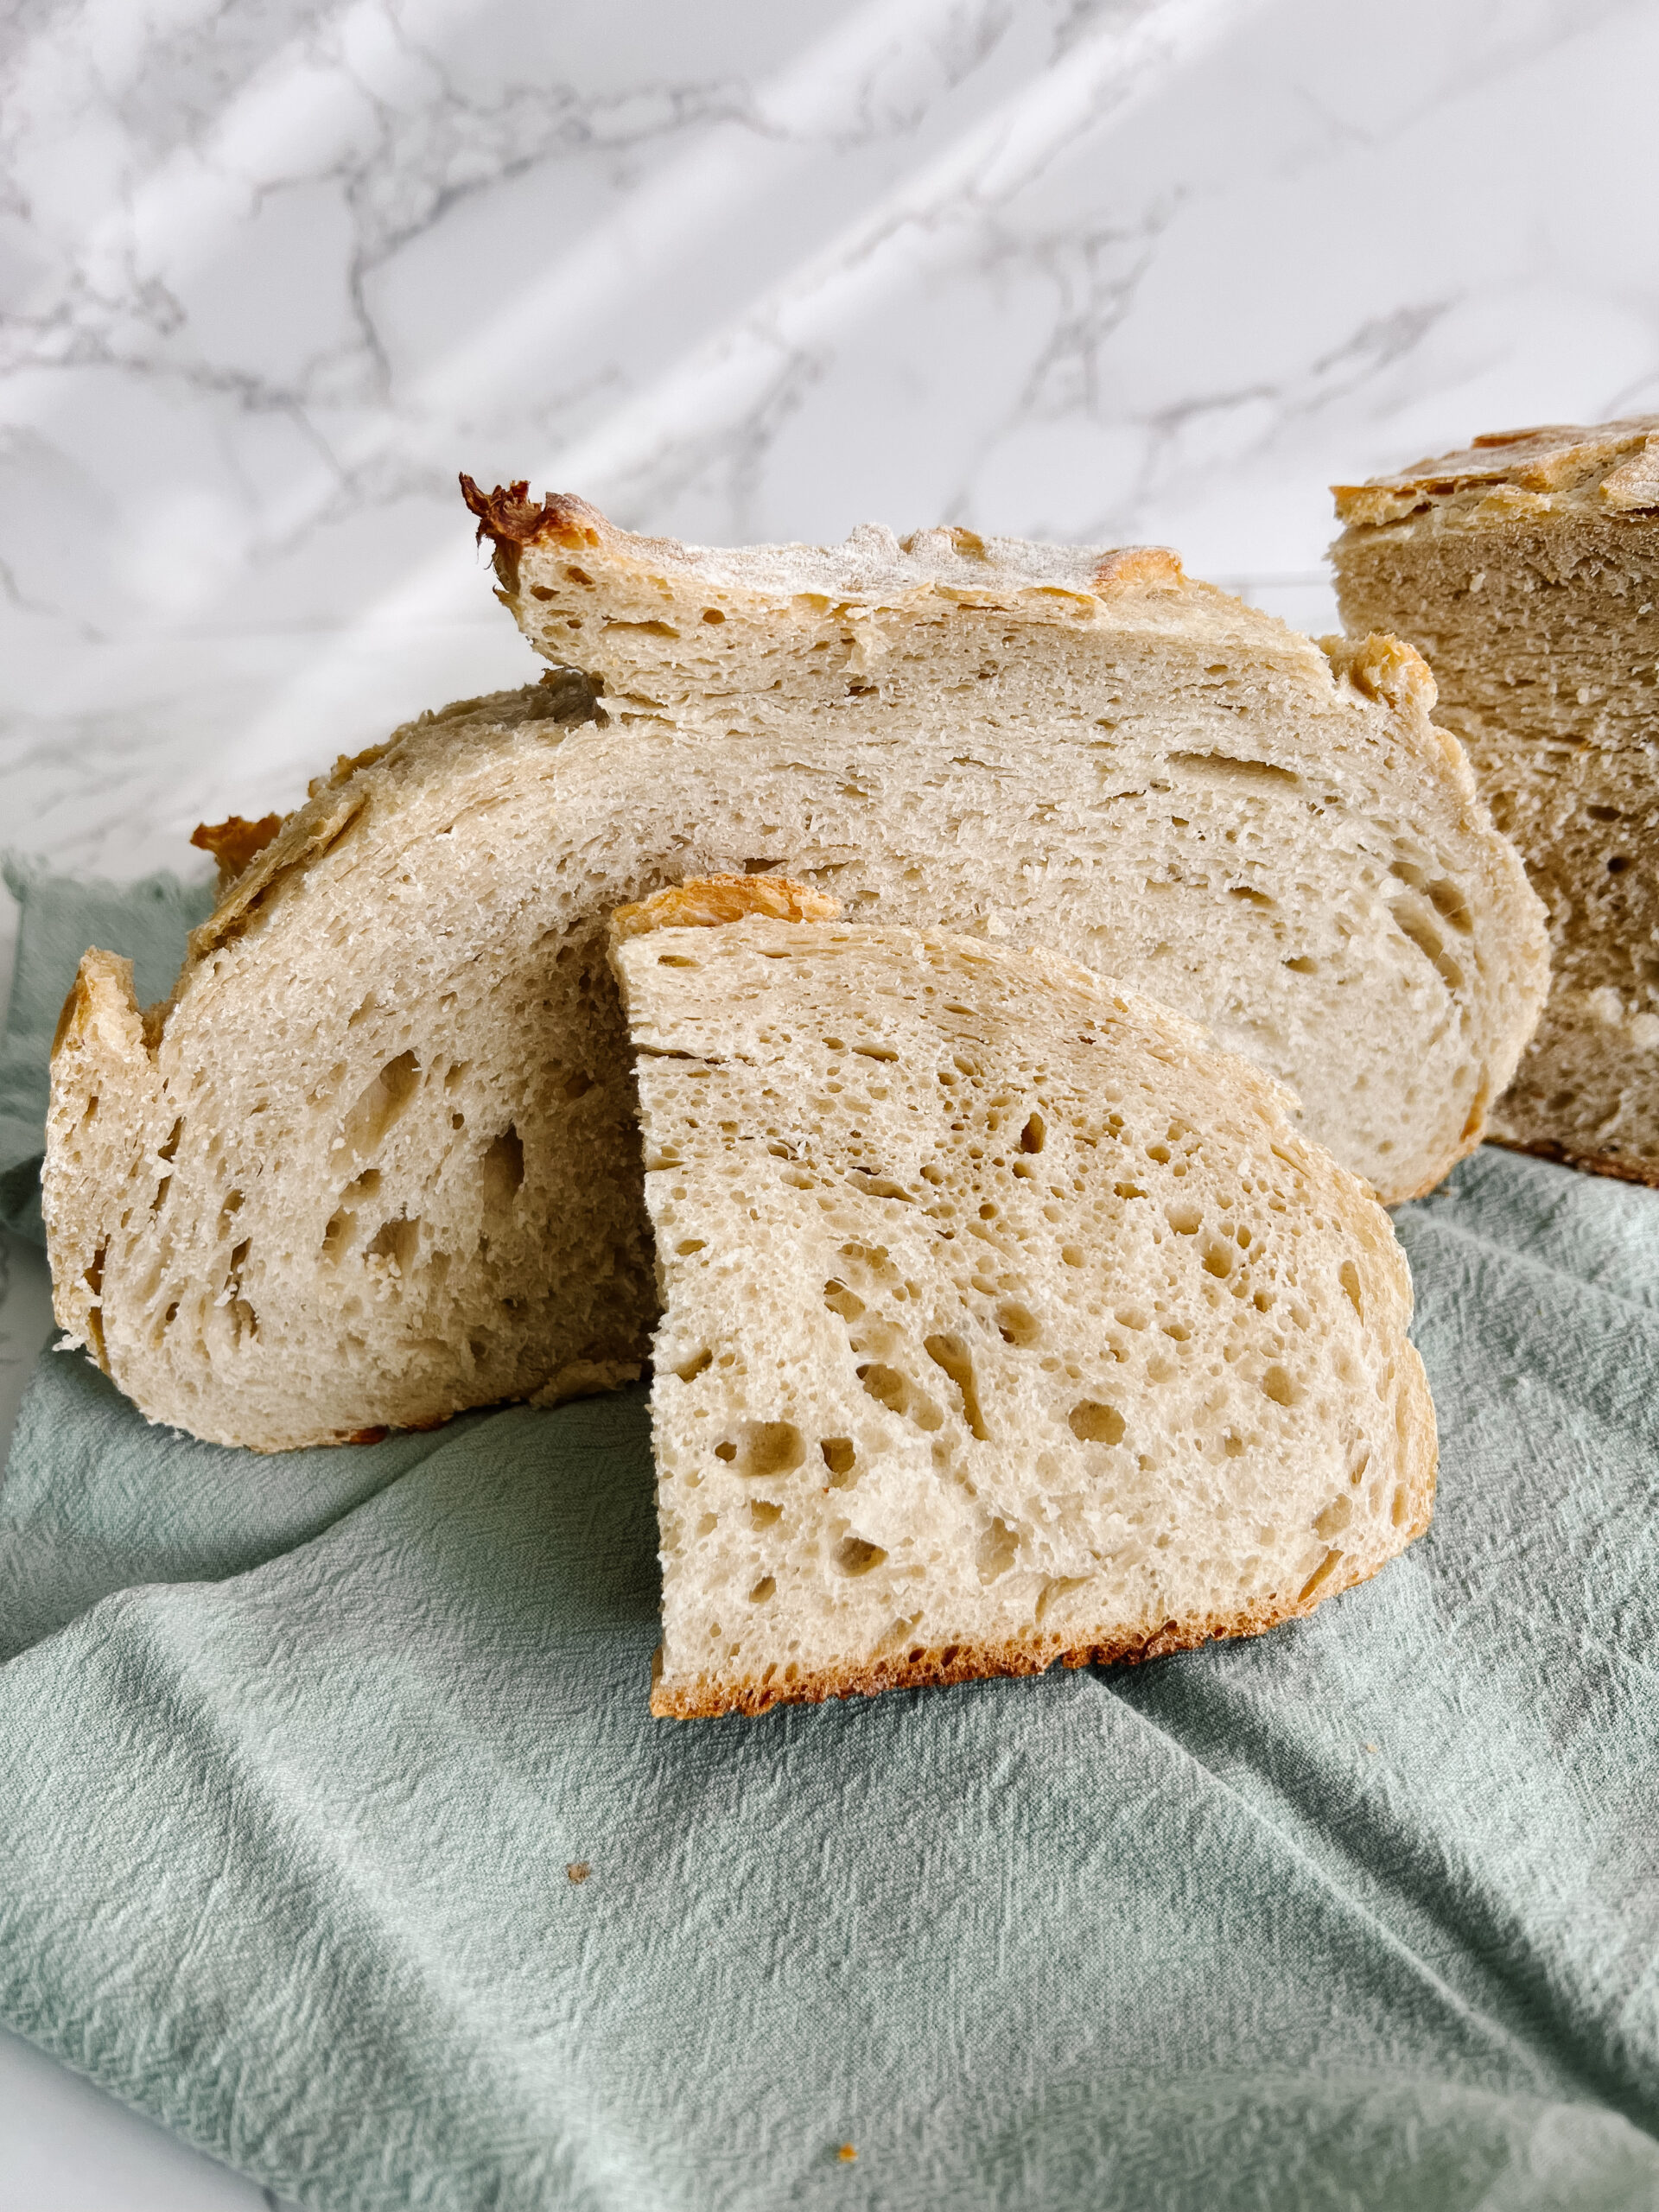
Easy Sourdough Bread: A Beginner’s Guide
If you’ve ever wanted to bake sourdough bread but felt intimidated by the process, I’ve got great news for you! With nearly 20 years of experience baking sourdough, I know that while the traditional stretch-and-fold method has its place, sometimes you just need a simple, no-fuss loaf that still delivers incredible flavor, texture, and that signature crispy crust. This Easy Sourdough Bread for Beginners is for you!
This is a recipe that my kids have memorized and can make on their own. You can do this, too! The ratios for this recipe have been around for many years. The methodology is my own.
This easy sourdough Dutch oven loaf is the perfect introduction to sourdough baking. Whether you’re new to working with a sourdough starter or simply want a low-maintenance bread recipe, this method proves that you don’t need complicated techniques to create bakery-quality bread at home.
Here is my recipe for Sourdough Bagels!
Why This Easy No-Knead Sourdough Bread Method Works
Many sourdough recipes require multiple stretch-and-fold sessions to build gluten strength and structure. However, this Easy Sourdough Bread for Beginner’s approach relies on time to naturally develop structure without the extra hands-on effort. Here’s why it works:
✔️ Time Does the Work: An extended bulk fermentation allows gluten to develop naturally. This makes the process much easier for beginners while still resulting in a soft, airy crumb.
✔️ Minimal Handling: No need to worry about mastering stretch-and-folds—just mix, let it rise, shape, and bake!
✔️ Perfect for Busy Schedules: You can mix the dough in the morning, let ferment all day, and bake in the evening. Alternatively, you can mix the dough in the evening, let it ferment overnight, and bake fresh sourdough the next morning. All with very minimal effort.
✔️ Bakes Beautifully in a Dutch Oven: A Dutch oven creates the perfect steamy environment for a crispy, crackly crust without needing fancy steam techniques.
My Experience With Sourdough Baking
Over the past nearly 20 years, I’ve baked countless loaves, experimented with different hydration levels, fermentation times, and techniques. I’ve taught people how to make sourdough from scratch, and I know that one of the biggest hurdles for beginners is overcomplicating the process. This method takes away the intimidation factor and gives you an easy, fail-proof way to bake your first successful loaf.
Here is a very simple version of the Easy Sourdough Bread:
Once you have the fundamentals of this recipe down, this is the perfect short version that you can save or print, to guide you as you make this. Perfect for saving on your phone to reference or to print and have on the counter as you’re making it!
Simplified Easy Sourdough Loaf Recipe Free Download
What You Need To Get Started
To make this easy sourdough recipe, you’ll need:
A mature sourdough starter – If you don’t have one yet, I have mine available here!
Flour, water, and salt – That’s it! You can use all purpose flour, bread flour, or even add in some whole wheat flour. I prefer to use filtered water. My favorite salt is Redmond Real Salt (code LAURA15 for a discount).
A Dutch oven – This helps trap steam, allowing for that crispy, golden crust. Here is a good option for a Dutch oven.
Patience – Sourdough is all about time and fermentation magic! If this is your first time making sourdough bread, give yourself some grace. It is a learning process.
Find all my favorite baking supplies here!
Beginner-Friendly Sourdough Tips
- Use a kitchen scale for accuracy—sourdough baking is much more precise with weighed ingredients. This is my favorite kitchen scale.
- Don’t rush fermentation—giving the dough plenty of time at room temperature. The dough should be light and airy when it is ready to shape.
- Experiment with different flours—adding a bit of whole wheat can give a rich flavor.
- Let the dough rest before baking—this helps the gluten relax and gives you a better oven spring. I have found that 30 minutes while the oven is preheating is perfect.
Final Thoughts
If you’re just starting your sourdough journey, this no-stretch-and-fold Dutch oven loaf is the easiest way to dive in without stress. Over the years, I’ve learned that simplicity is often the key to success, and this method proves that great sourdough doesn’t have to be complicated.
If you try this method, I’d love to hear about it! Share your experience in the comments or tag me on Instagram @Lauralivesthegoodlife.
Check out this video of Easy Sourdough Bread being made:
Easy Sourdough Bread
Try this easy sourdough Dutch oven loaf that is perfect for beginners!
Equipment
- 1 Dutch oven
- 1 sheet parchment paper
Ingredients
- 165 grams sourdough starter (active or somewhat fallen) (3/4 cup)
- 400 grams water (1 3/4 cup)
- 15 grams sea salt (2 1/2 tsp)
- 650 grams all purpose flour (5 1/8 cups)
Instructions
- Feed your starter at night before you go to bed*. In the morning, mix the first 3 ingredients in a large bowl.
- Add the flour and mix until a shaggy dough is formed. Form the dough into a ball in the bowl.
- Cover the dough with a lid and let sit for 6-12 hours (depending on the temperature of the room, warmer temperature will result in a quicker rise).
- Once the dough has risen (doubled) and is bubbly, turn it out onto a lightly floured counter. Stretch the dough into a loose rectangle. Fold it into thirds (like folding a piece of paper into thirds). Pull the corners in and form a ball. Flip it over so the smooth side is on top. Using your hands, gently pull the ball towards you several times. Place dough on a piece of parchment paper and put the empty bowl over the dough ball, as a cover.
- Place Dutch oven in the oven and preheat to 450°, as the dough rests on the counter. Let the dough rest for about 30 minutes.
- Take the bowl off the dough and using a sharp knife or lame, score the dough. Remove the Dutch oven and place the parchment paper and dough into the Dutch oven. Put the lid back on and put Dutch oven in the oven.
- Reduce the oven temperature to 400° and bake for 40 minutes. Remove the lid during the last 10-15 minutes of baking. Leave the lid on longer for softer crust and take the lid off sooner for a crispier crust. The internal temperature of the bread should be 200°.
Notes
-*This can also be done in reverse: feed your starter during the day, make the dough at night before you go to bed, then shape and bake the dough in the morning.
-To long ferment this recipe, once the dough is mixed in the bowl, cover and put in the refrigerator for several days. On the day you want to bake the dough, remove from the refigerator and let sit until the dough is well risen. Continue starting at step 4 above.
-To add inclusions (rosemary, garlic, cinnamon, sugar, etc.): When the dough is spread into a rectangle, cover well with toppings. Fold into thirds and add more topping. Finish by pulling in corners, as described above.
Other Recipes You'll Love!
See All
February 18, 2023
3 Ingredient Sourdough Discard Crackers!

October 2, 2025
How to Make Fermented Pears with Apple, Ginger, and Spices (Probiotic Fruit Recipe)

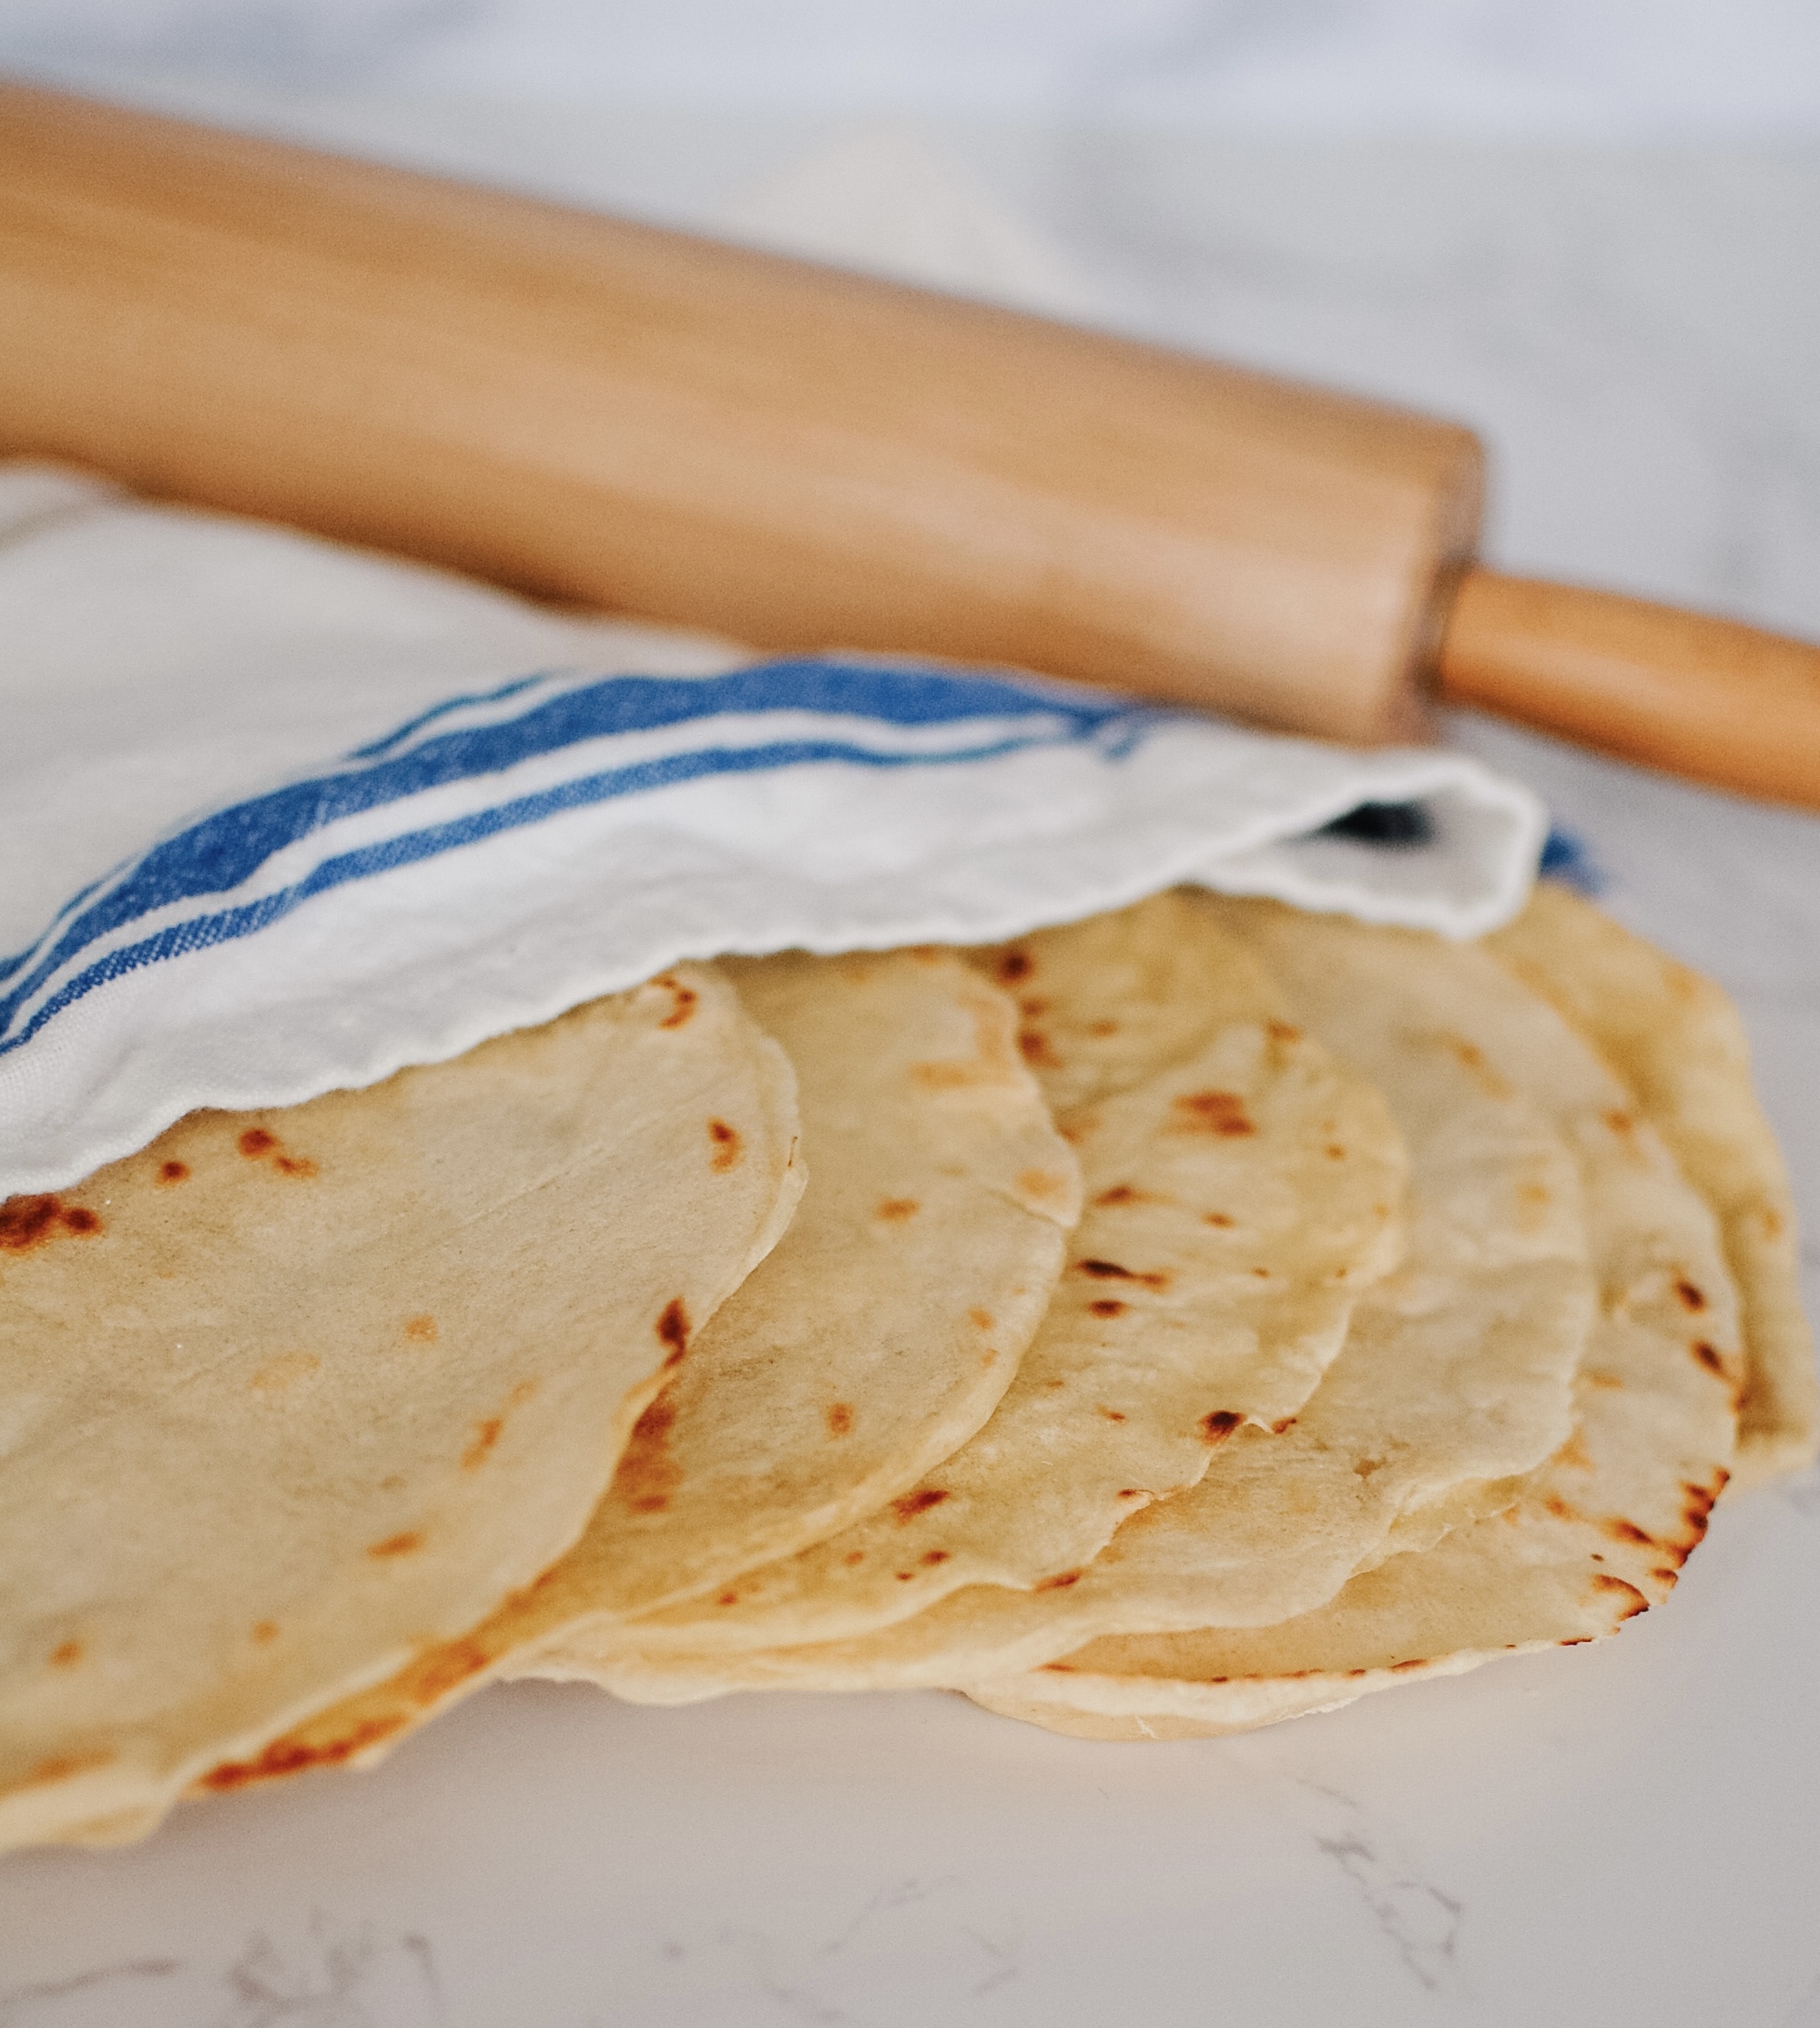
April 12, 2023
Sourdough Discard Tortillas
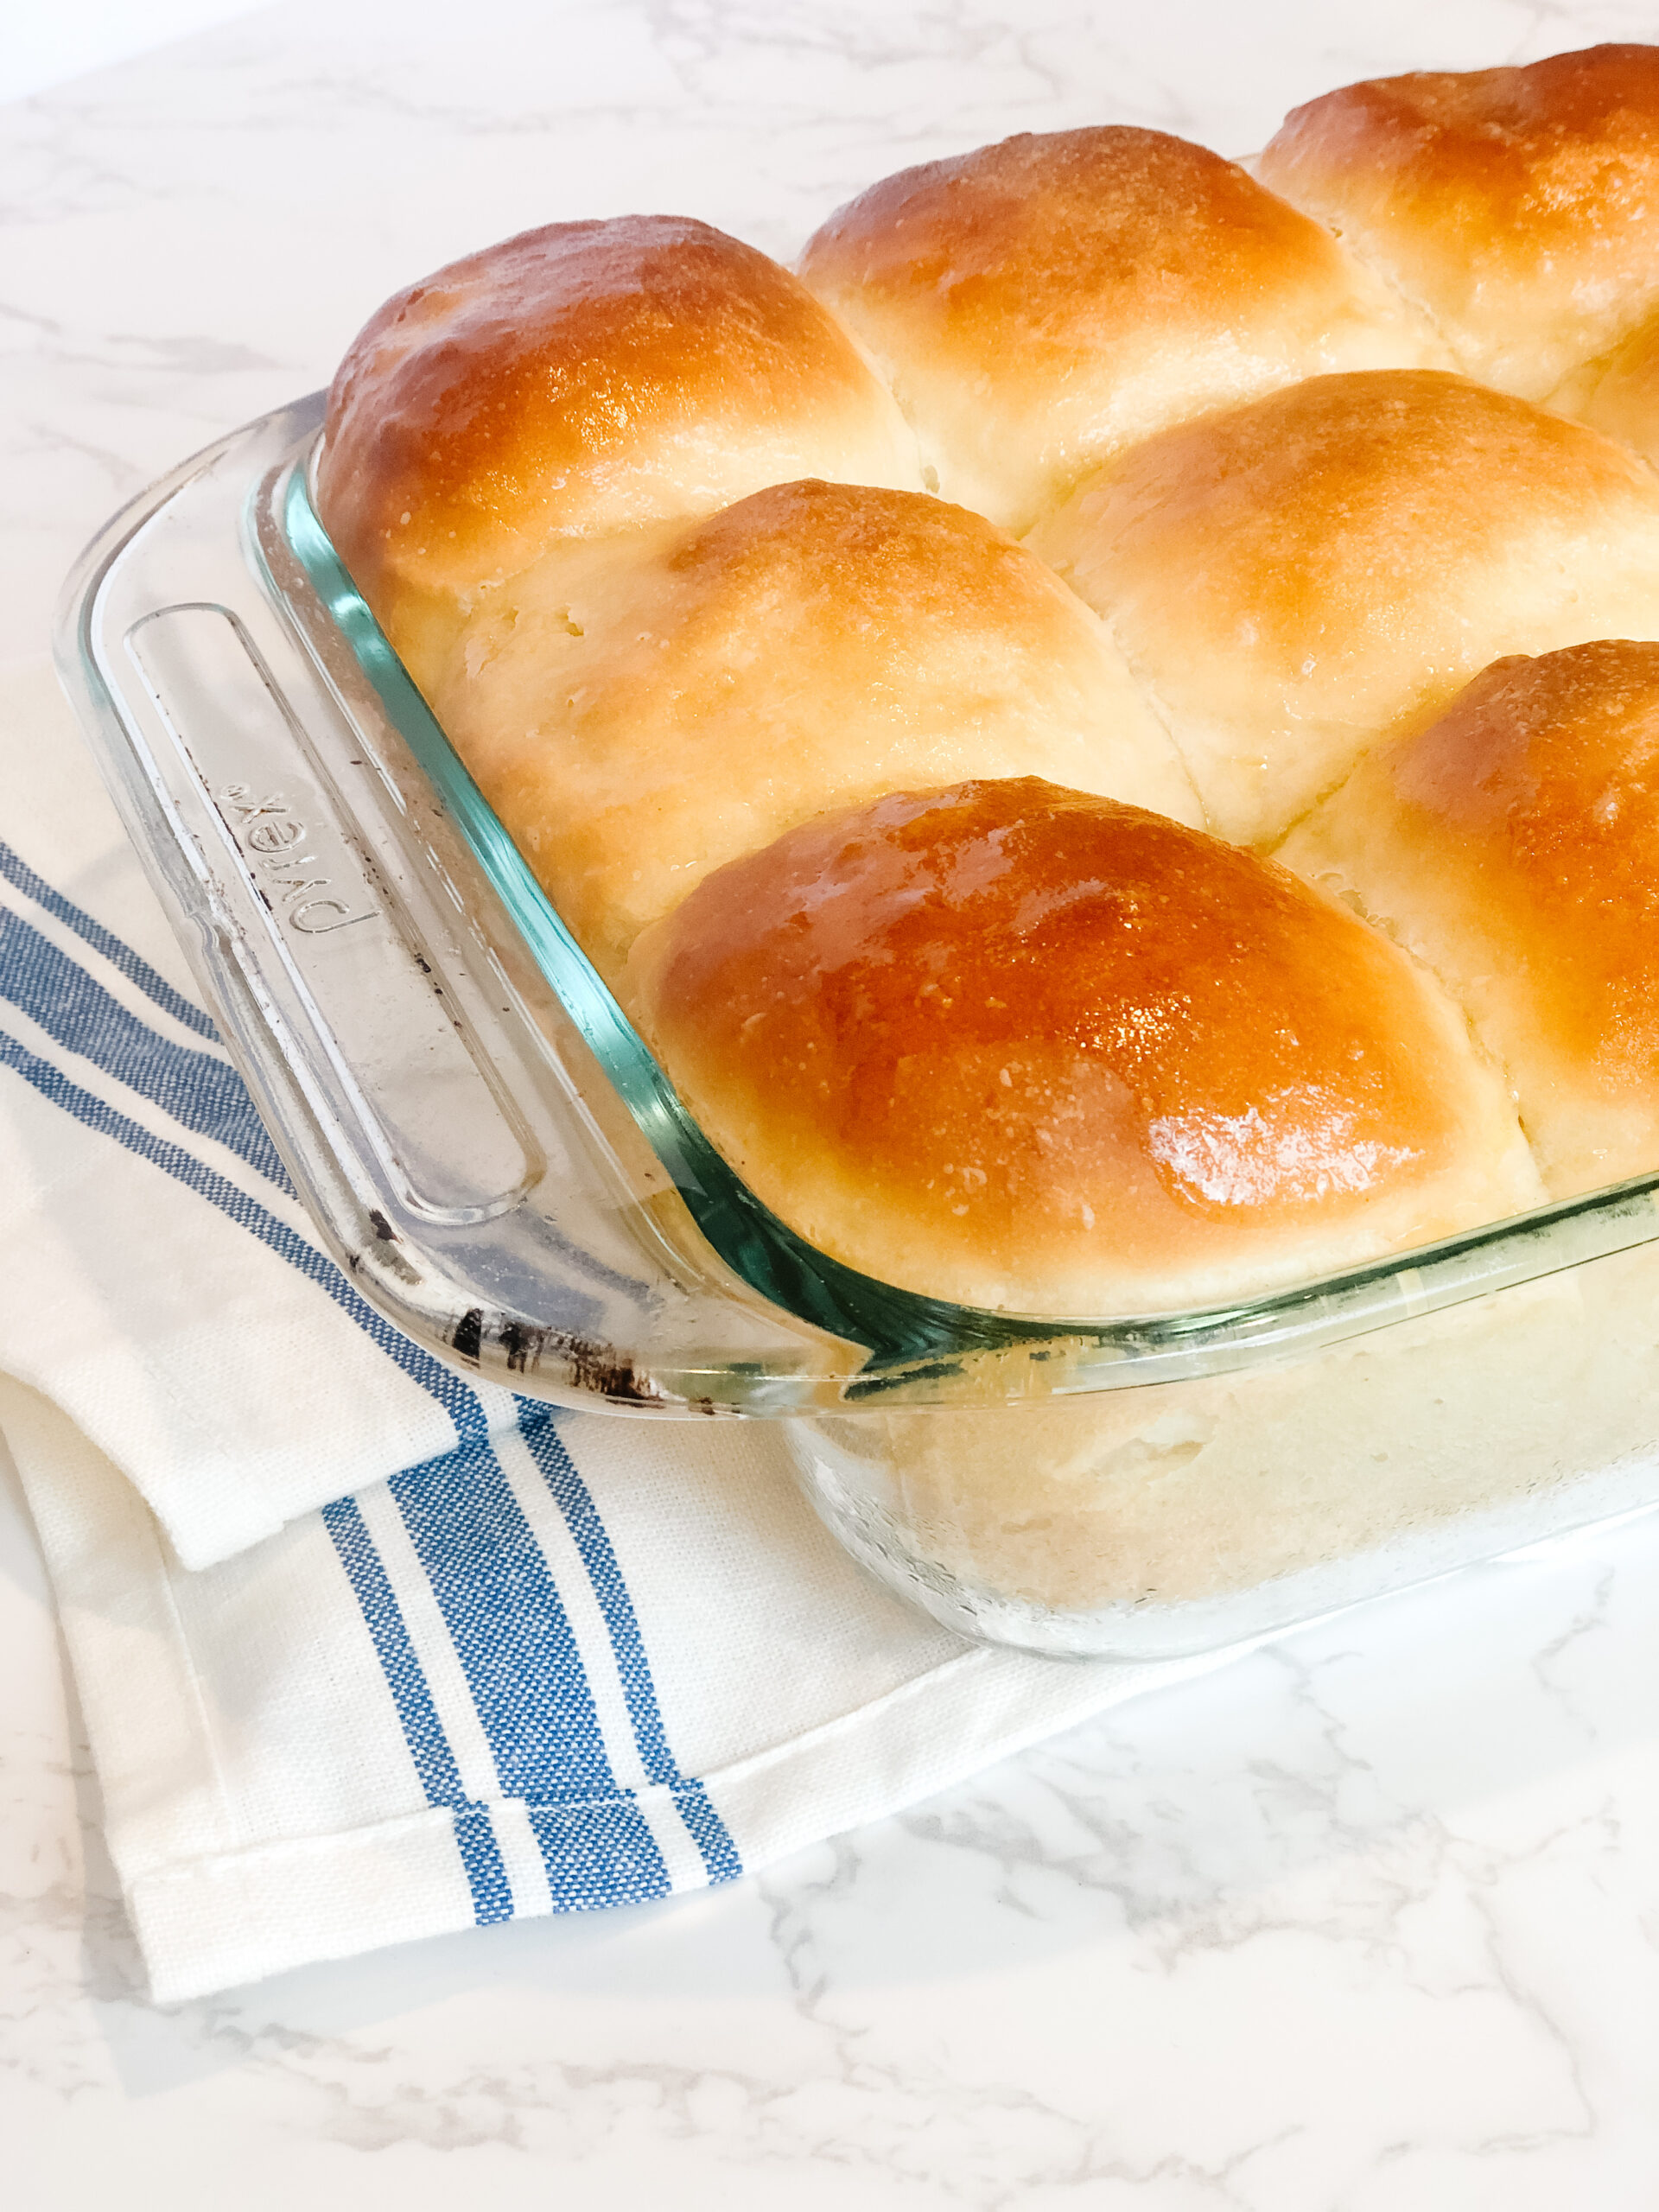
February 27, 2023
Sourdough Dinner Rolls
May 4, 2023
How to Make Homemade Broth

Leave a Reply

Hi! I'm Laura!
I’m on a mission to normalize nutrient dense food. By nutrient dense I mean foods that pack a punch because the amount or type of nutrient they offer is so incredible. So much of your health is in your own hands. That should feel empowering!!I wholeheartedly believe that when your gut health is in order, the rest of your life will take a healthy turn, too! I promise that whenever you decide to try one of my recipes, you can trust that you are providing your family a healthy, nourishing, and incredibly tasty experience!
Sign Up For Tips & Tricks
Latest Recipes
February 22, 2026
Sourdough Lemon Blueberry Scones

October 2, 2025
How to Make Fermented Pears with Apple, Ginger, and Spices (Probiotic Fruit Recipe)
April 3, 2025
Easy Sourdough Bread for Beginners
February 25, 2025
Sourdough Bagels

February 18, 2025
Sourdough Chocolate Chip Cookies with Browned Butter

See All
Do these freeze well after baking?
Author
Yes, really well!
Can I let it rise in the fridge over night?
Author
Yes, you can