
Last Updated: February 25, 2025
Author: Laura Tuttle

Mastering Sourdough Bagels: A Guide to Flavorful, Homemade Perfection
There’s something incredibly satisfying about making sourdough bagels from scratch. After years of perfecting my process, I can confidently say that homemade sourdough bagels have flavor and texture that store-bought versions just can’t match. From the long fermentation to the final golden bake, every makes a homemade bagel worth it!
Why Sourdough Bagels?
Sourdough bagels stand apart from traditional bagels made with commercial yeast. The natural fermentation process gives them a more developed flavor profile. Plus, sourdough is easier to digest, thanks to the breakdown of gluten and phytic acid during fermentation.
While it takes more time to make sourdough bagels compared to getting some from the store, the results speak for themselves. The extended fermentation allows the dough to develop complex flavors, and the final boil-before-bake step gives them that classic bagel crust.
Boiling: The Key to Perfect Texture
Boiling is a crucial step in making sourdough bagels, as it begins to set the crust before baking and contributes to their signature texture. When bagels are briefly boiled, the starches on the surface gelatinize, creating a firm outer layer that prevents excessive oven spring, helping them maintain their shape. This process also gives bagels their distinctive, slightly dense interior rather than a bread-like fluffiness. The longer the boil, the thicker and chewier the crust becomes. Adding baking soda to the water enhances browning and deepens the flavor, resulting in that beautifully golden finish that makes a great bagel stand out.
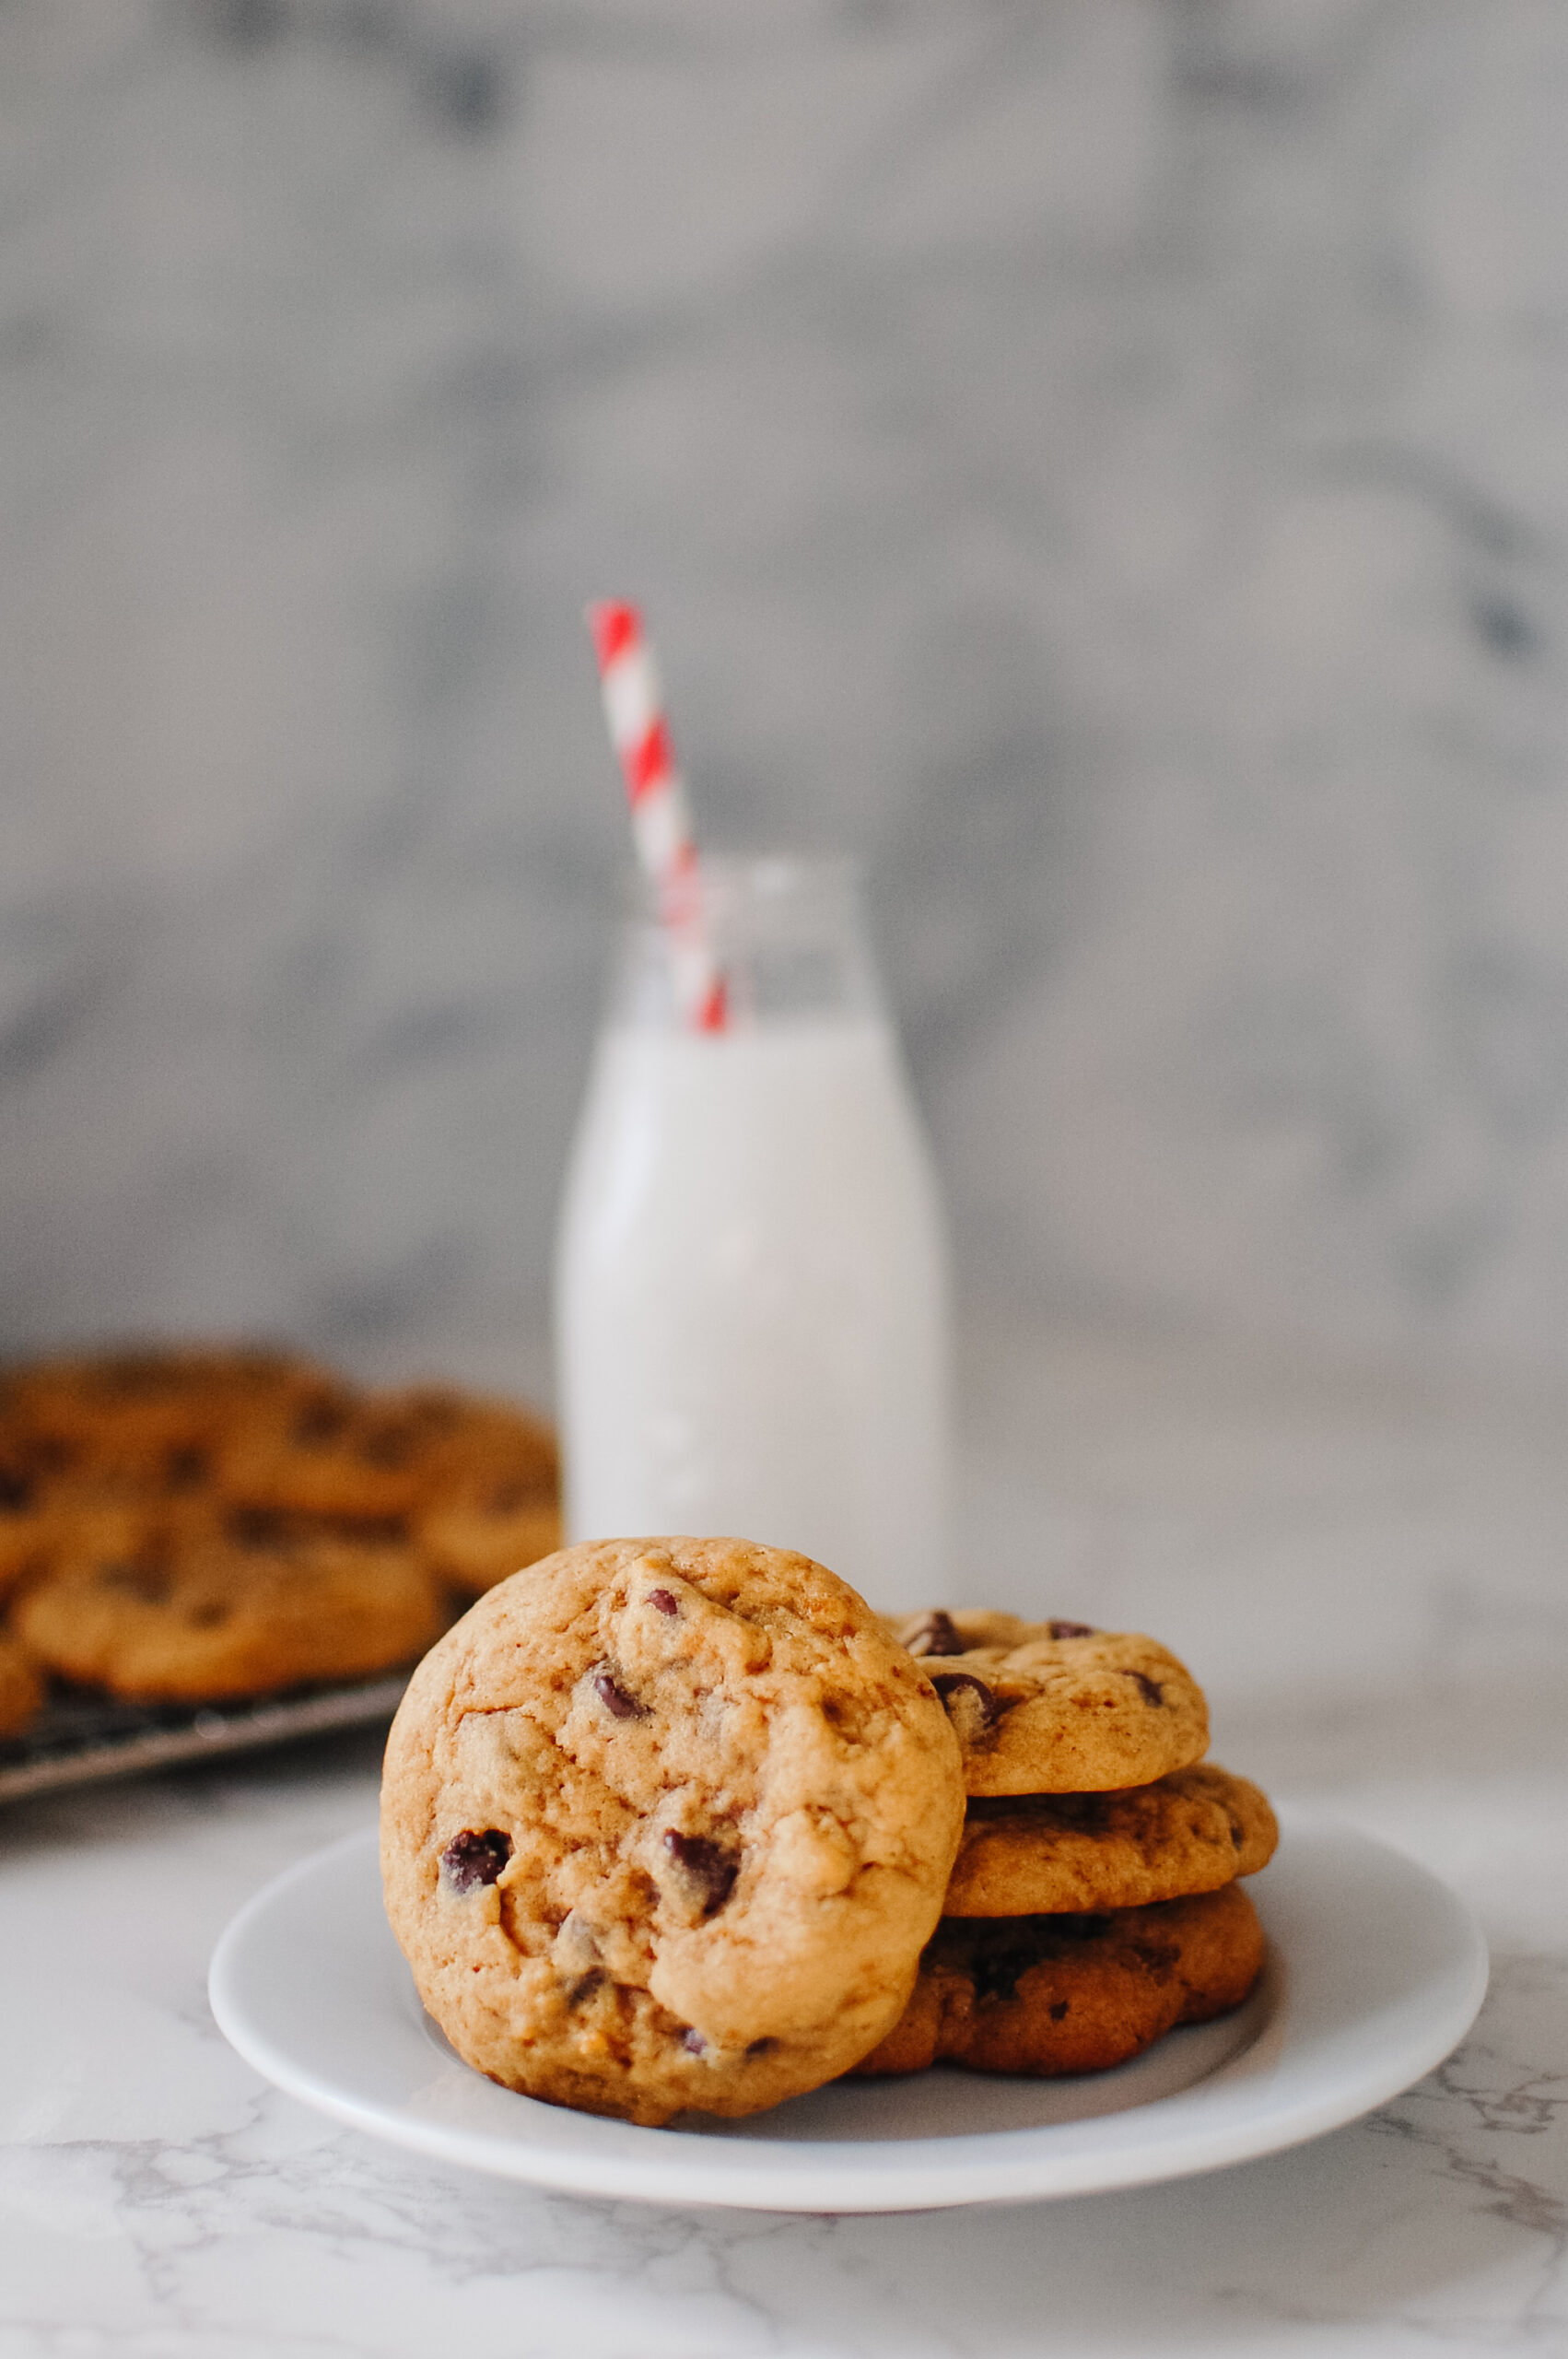
Love sourdough breakfast recipes? Check out more here!
Long Fermentation = Bold Flavor, More Flexibility
A slow, cold ferment is the key to exceptional sourdough bagels. I’ve experimented with different fermentation times, and you can bake same day or do a long ferment in the refrigerator. Both yield excellent results.
Shorter fermentation results in a milder taste, while a longer ferment brings out a more pronounced sourdough taste. If you are sensitive to gluten, the extra time is worth it.

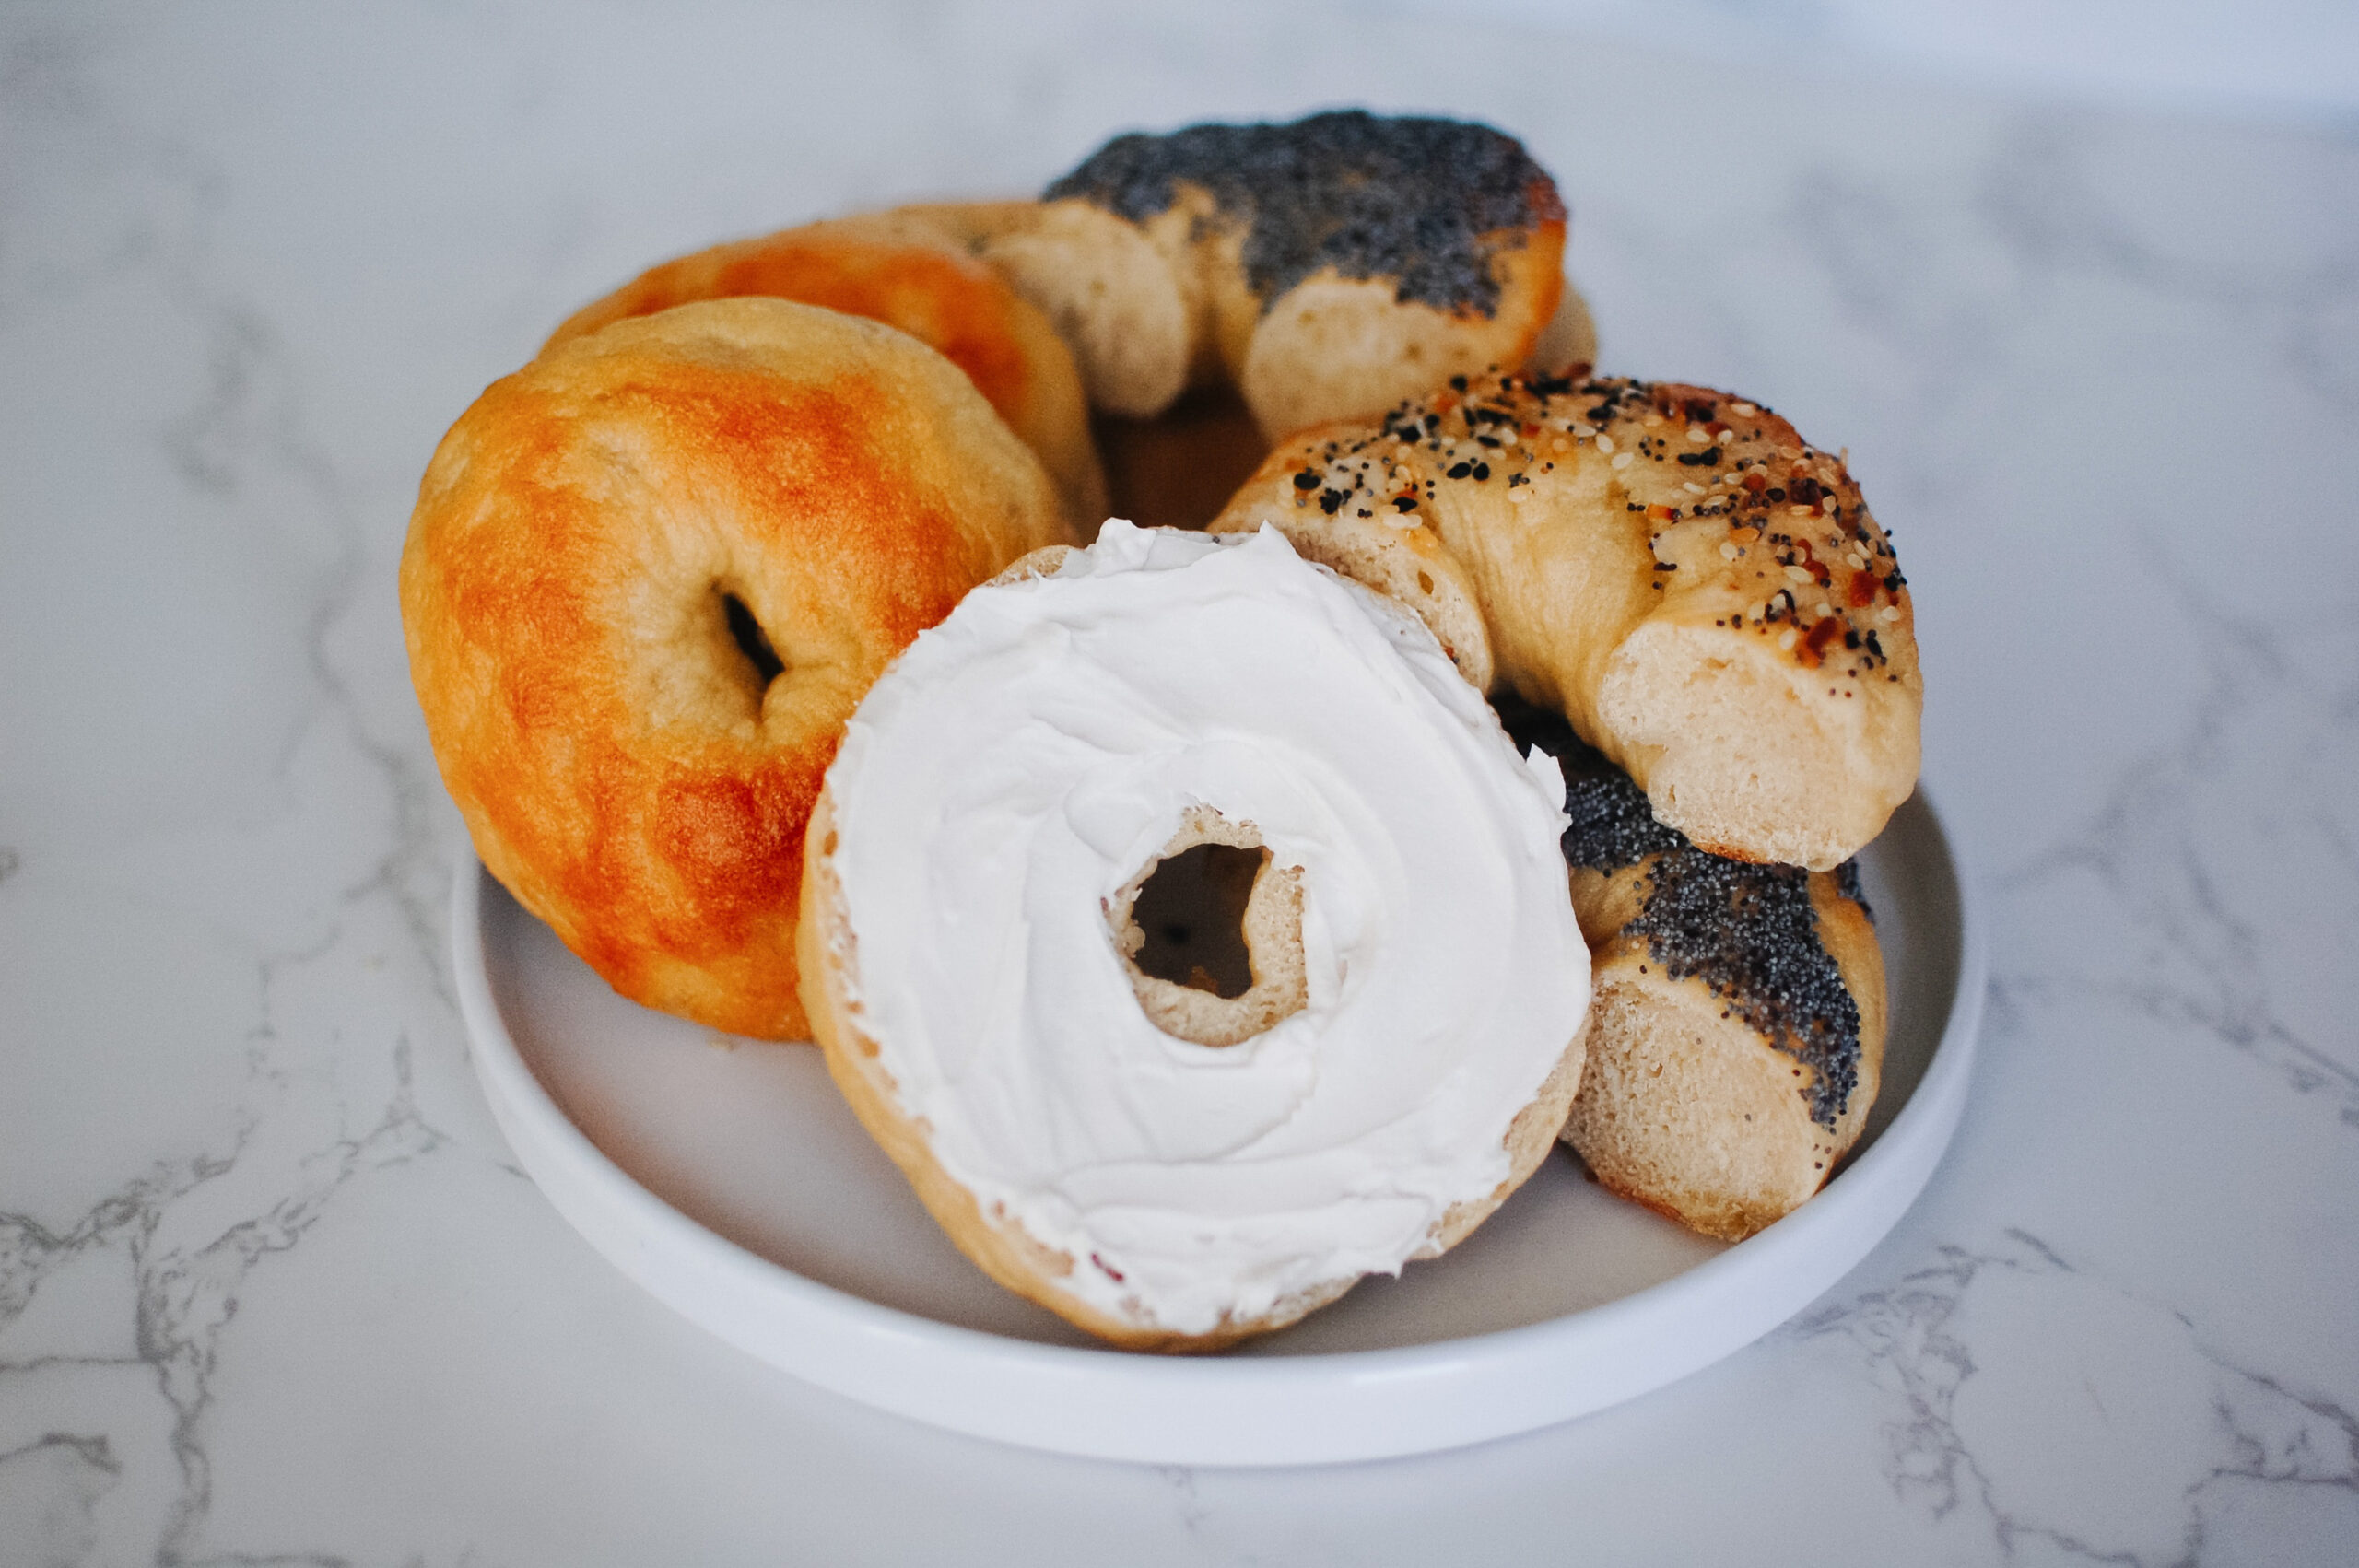
Toppings and Variations
One of the best things about making bagels at home is customizing them to your taste. Here are some tried-and-true favorites:
- Everything Bagels – A classic blend of sesame seeds, poppy seeds, garlic, onion, and flaky salt.
- Cinnamon Raisin – Slightly sweet with a warm spice flavor, perfect toasted with butter.
- Cheddar Jalapeño – A sharp, savory twist with just the right amount of heat.
- Sesame or Poppy Seed – Simple, flavorful, and great for any sandwich.
- Sun-Dried Tomato & Basil – A Mediterranean-inspired option with bold flavors.
Why Homemade Sourdough Bagels Are Worth It
Making sourdough bagels from scratch does require planning, but the results are unbeatable. The texture, flavor, and freshness are far superior to anything you’ll find in a grocery store. Plus, you have complete control over the ingredients—no preservatives, no unnecessary additives, just high-quality, real food.
Tools I Use
Flour- This is a great source for flour. They have lots of types of flour to pick from. Get 20% off using this link.
Sea Salt- Redmond salt is my favorite! I love that it is from a mine right here in Utah and contains trace minerals. Use code LAURA15 for a discount.
Baking Sheets– I like using these stainless steel baking sheets. I prefer not to use cooking items that have a non-stick coating.
Pre-Cut Parchment Paper– These sheets come in handy and make clean up so easy!
If you’ve never made sourdough bagels before, I highly recommend giving it a try. And if you’ve been making them for a while, let’s swap notes! Which toppings do you swear by? Drop a comment and let’s talk bagels!

Servings 6
Ingredients
- 1/2 cup active sourdough starter
- 1 cup water
- 2 tablespoons honey
- 1 1/2 teaspoons sea salt
- 3-3 1/2 cups all purpose flour
For the boiling water
- 1 tablespoon honey
- 1 teaspoon baking soda
Instructions
- In a mixer (or by hand), combine the sourdough starter, water, honey and salt. Add the flour a cup at a time until it pulls away from the side of the bowl. Knead for 5-10 minutes (this will take longer if hand kneading). Form the dough into a ball, cover and let rise somewhere warm until nearly double in size. For a long ferment, cover and refrigerate for 1-3 days. On baking day, let the dough come to room temperature for an hour or so out of the fridge before moving on.
- Divide the dough into 6 or 7 equal pieces (roughly 3.5-4 ounces each). Roll each piece into a tight ball (use a dusting of flour, if needed). Poke a thumb through each dough ball and slightly stretch the opening to about 2 inches wide. Alternatively, the dough can be rolled into a snake. Pinch the two ends together to create the bagel shape.
- Place each bagel on a parchment lined baking sheet. Cover the dough with a tea towel and let rise for 15-45 minutes. The dough will rise minimally during this time.
- Preheat the oven to 425°. Bring a large pot of water to a boil and add 1 tablespoon of honey and 1 teaspoon of baking soda to the water. If adding toppings to the bagels, place toppings in a shallow dish.
- Add 2-3 bagels to the boiling water. Let boil for 30 seconds (for a thin crust) to 2 minutes (for a thicker crust) on each side, flipping the bagels over halfway through. Using a slotted spoon, remove the bagels and place back on the baking sheet. When cooled slightly, but still wet, dip the top of the bagel in topping (or sprinkle over the top) and place back on the baking sheet. Finish boiling and dipping the rest of the bagels and place on baking sheet.
- Bake the bagels for 20-25 minutes until golden brown. Let cool for 10 minutes. These are best on the day they are made. Store at room temperature.
Notes
This recipe doubles or triples really well!


Hi! I'm Laura!
I’m on a mission to normalize nutrient dense food. By nutrient dense I mean foods that pack a punch because the amount or type of nutrient they offer is so incredible. So much of your health is in your own hands. That should feel empowering!!I wholeheartedly believe that when your gut health is in order, the rest of your life will take a healthy turn, too! I promise that whenever you decide to try one of my recipes, you can trust that you are providing your family a healthy, nourishing, and incredibly tasty experience!
Sign Up For Tips & Tricks
Latest Recipes
February 22, 2026
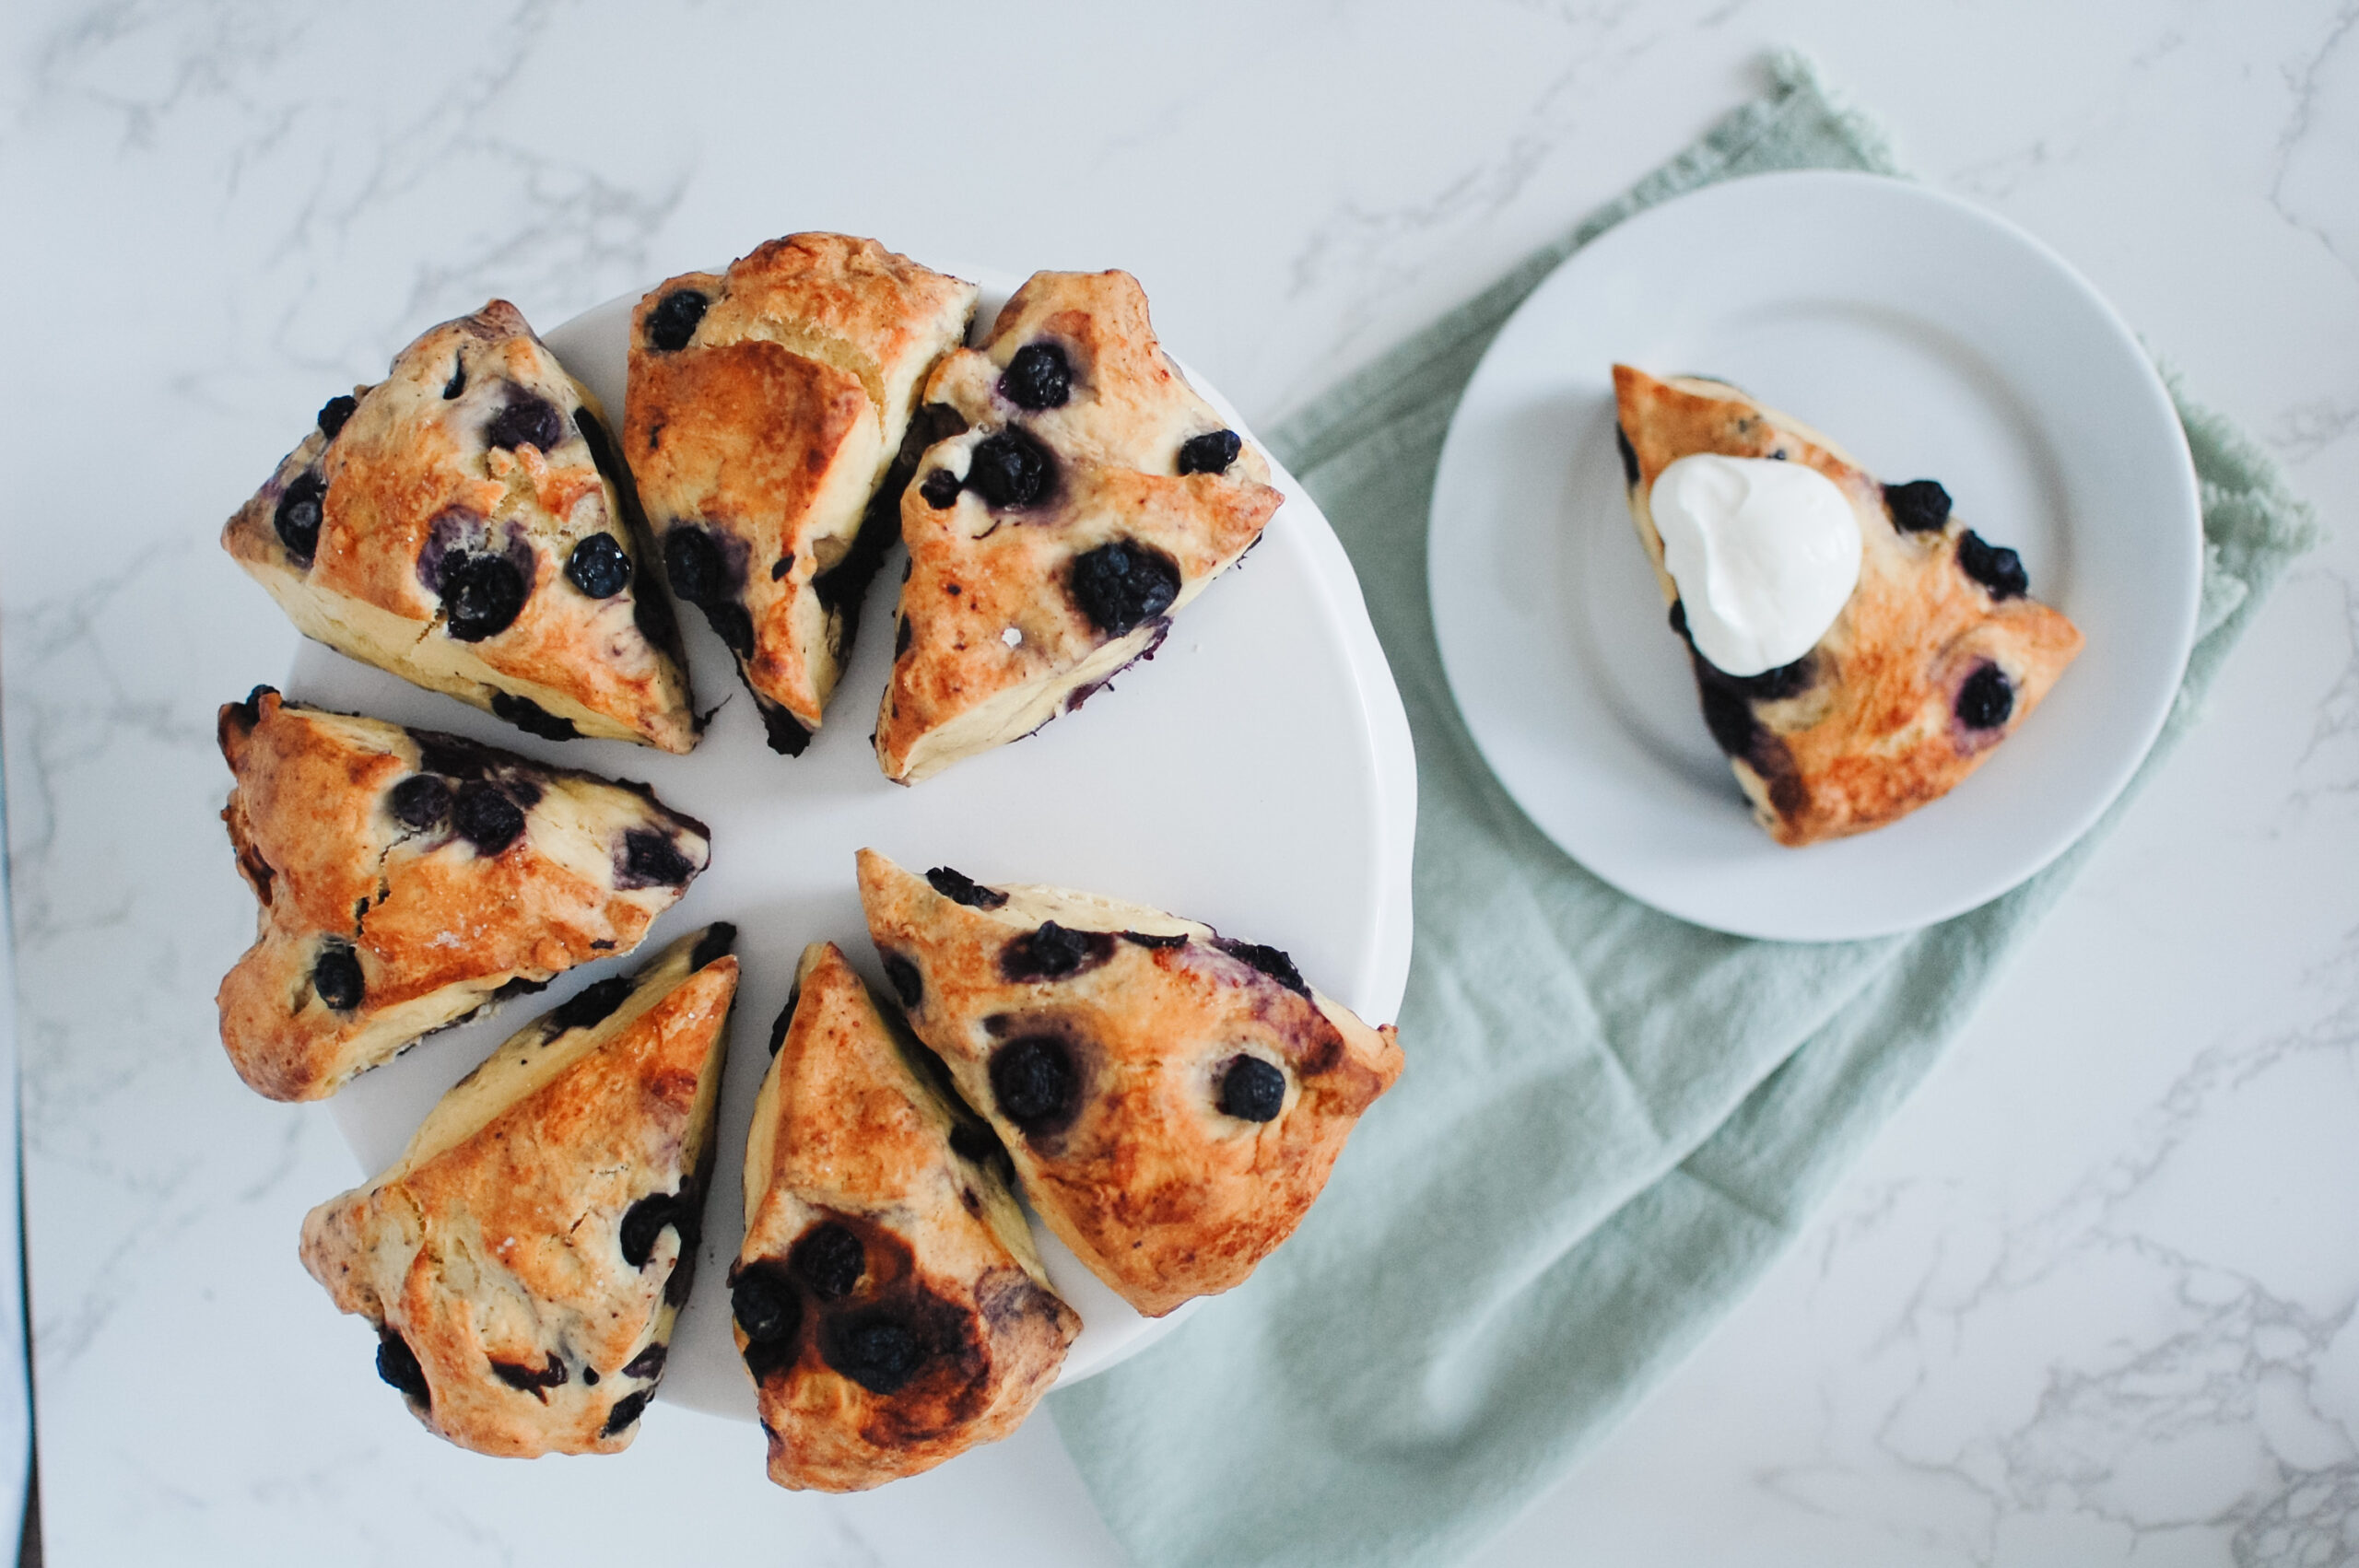
Sourdough Lemon Blueberry Scones
October 2, 2025
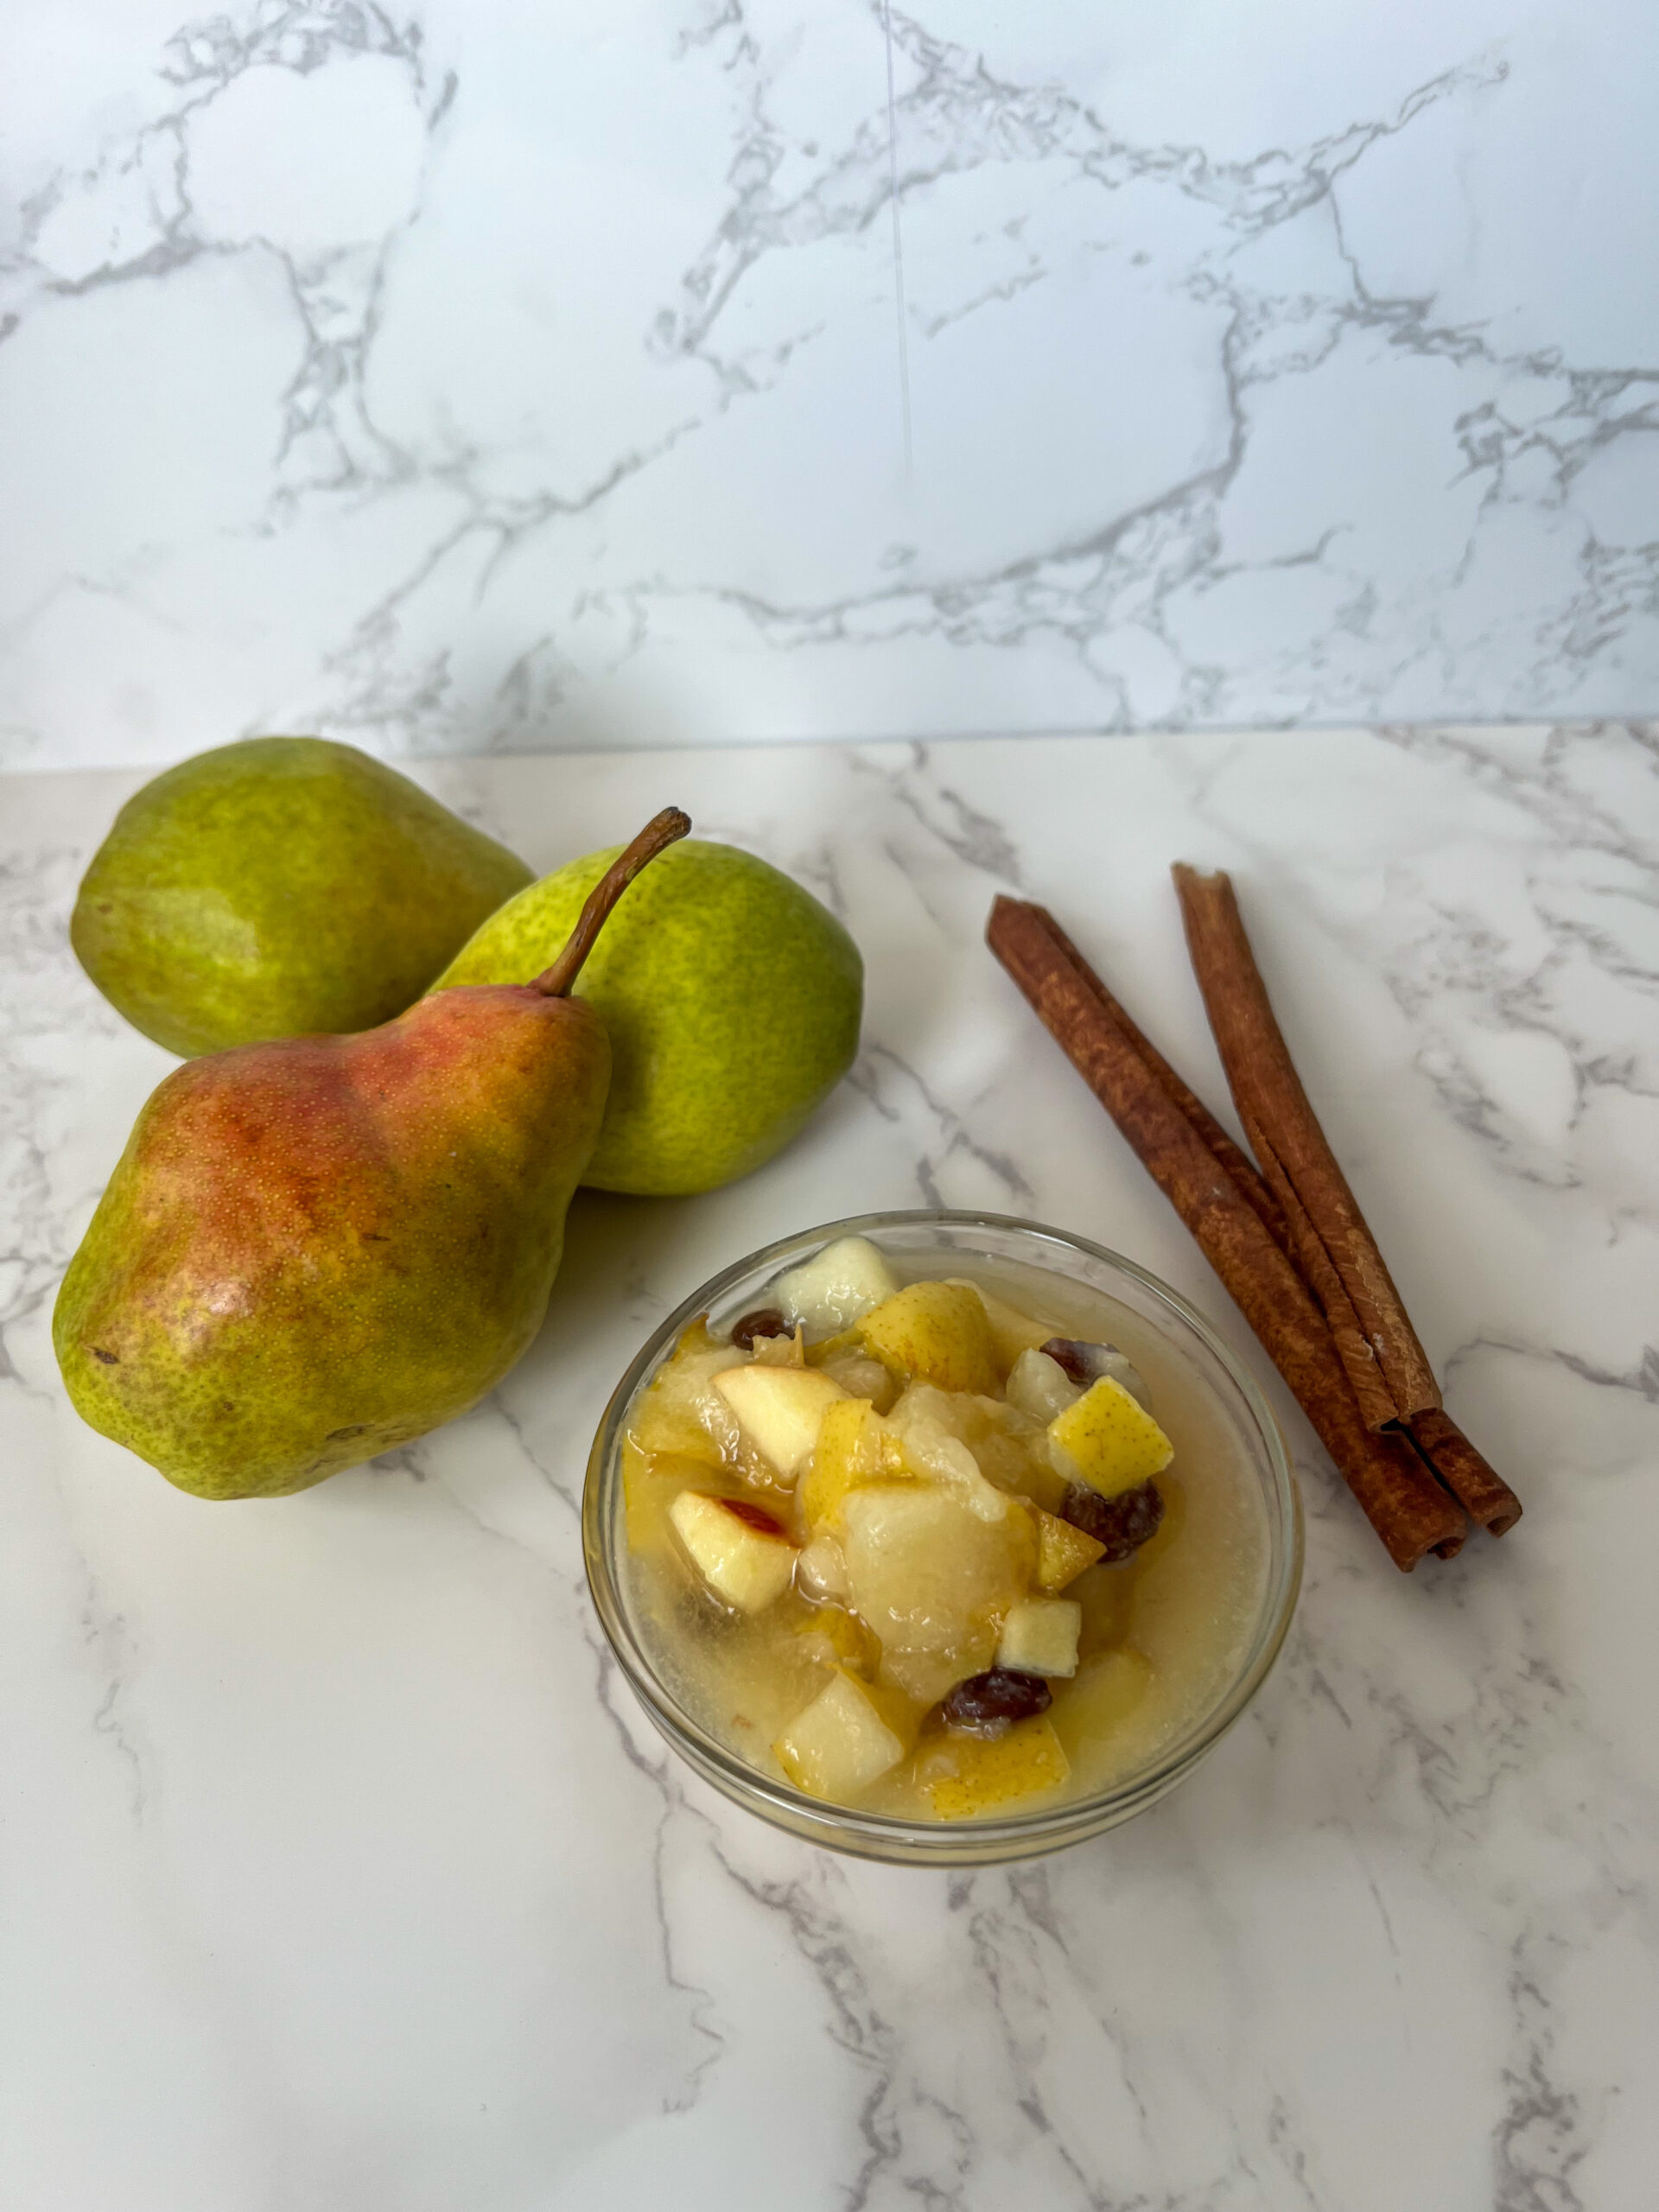
How to Make Fermented Pears with Apple, Ginger, and Spices (Probiotic Fruit Recipe)
April 3, 2025
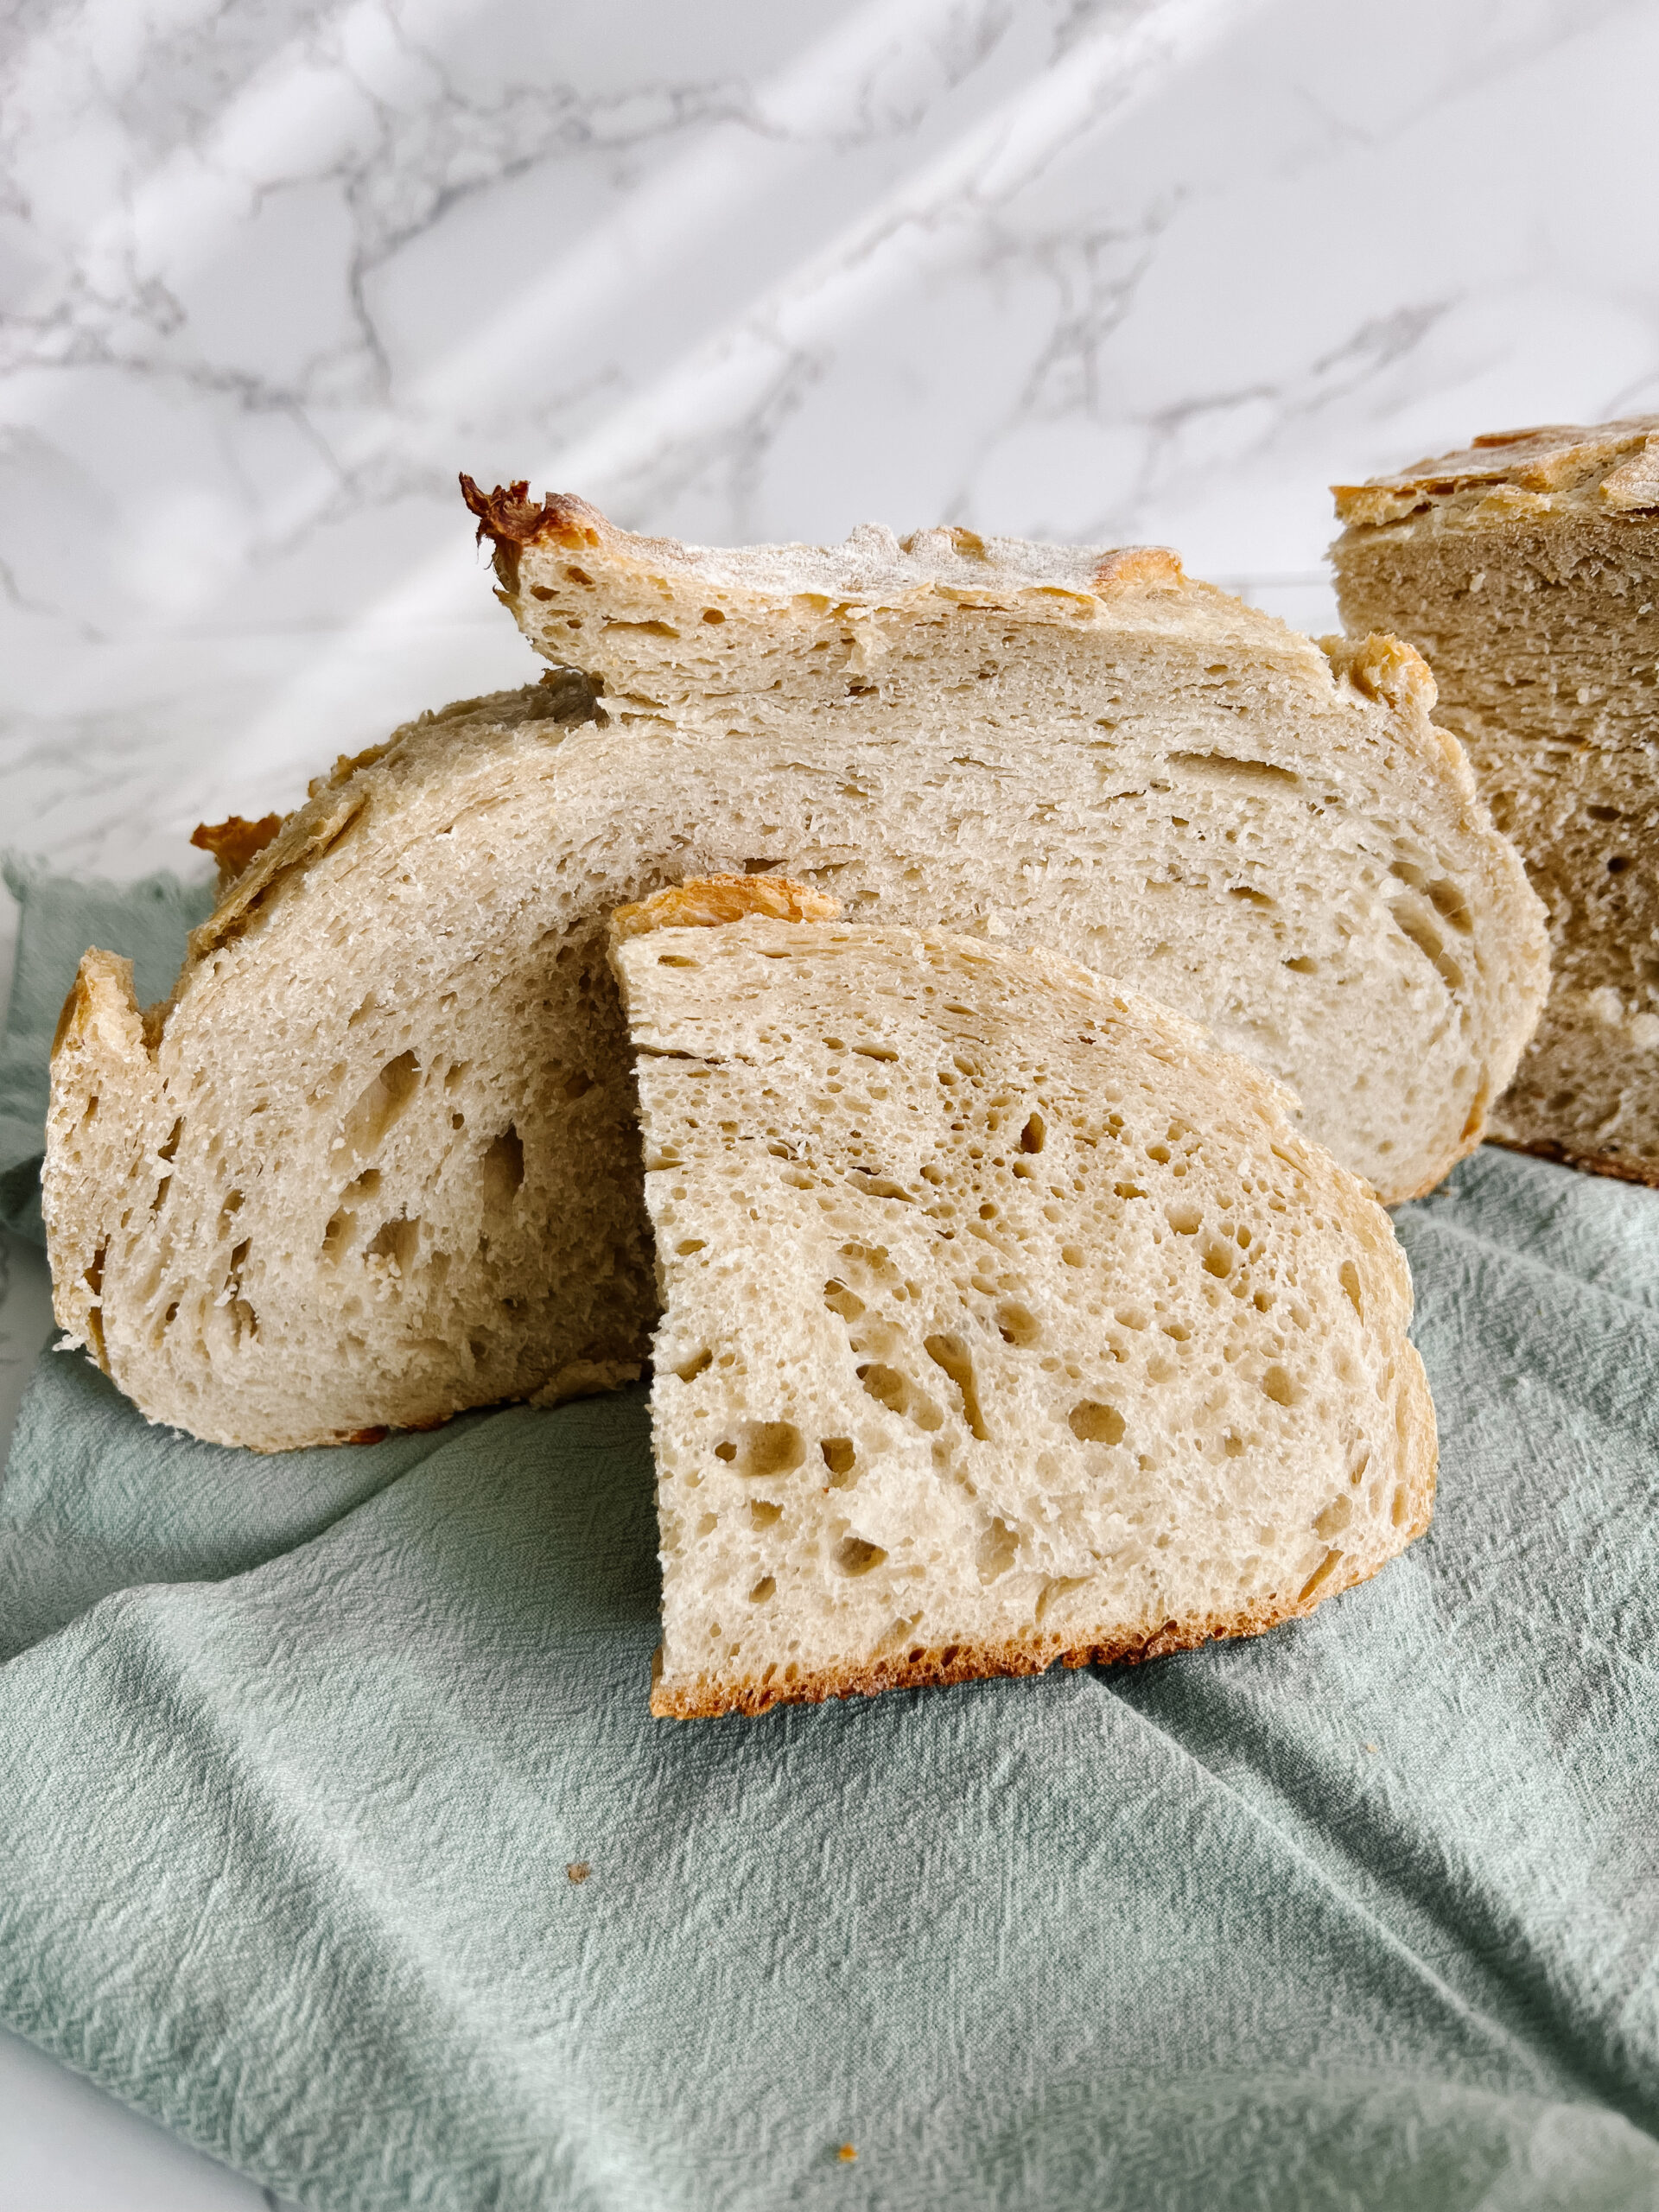
Easy Sourdough Bread for Beginners
February 25, 2025
Sourdough Bagels
February 18, 2025
Sourdough Chocolate Chip Cookies with Browned Butter
See All