
Last Updated: May 18, 2023
Author: Laura Tuttle
Want to learn how to make homemade broth? Our ancestors knew what they were doing when it came to the healing power of broth. It is so beneficial for gastrointestinal ailments! The gelatin in it soothes and heals intestinal mucosa. As an ingredient researcher, I’ve seen some info about broth that doesn’t hold up in studies. Let’s dispel some myths!
Myths & Truths of Ingredients
Myth: Apple cider vinegar helps pull nutrients out of the bones.
Truth: this has been tested in labs over and over and the nutrients do not increase by doing this. In fact, the ACV may make your broth taste “off”.
Myth: Broth is a good source of calcium. It comes from bones, after all!
Truth: broth is an excellent source of some nutrients but it is not high in calcium. It has some, but not much. Multiple tests show this. The real reason to consume broth is for the amazing
- Gelatin
- Collagen
- Glucosamine: (can be found in YOUR cartilage 4 hrs after consuming )
- Proteoglycans: THIS! This is the reason to have broth! These are incredible for reducing body-wide inflammation.
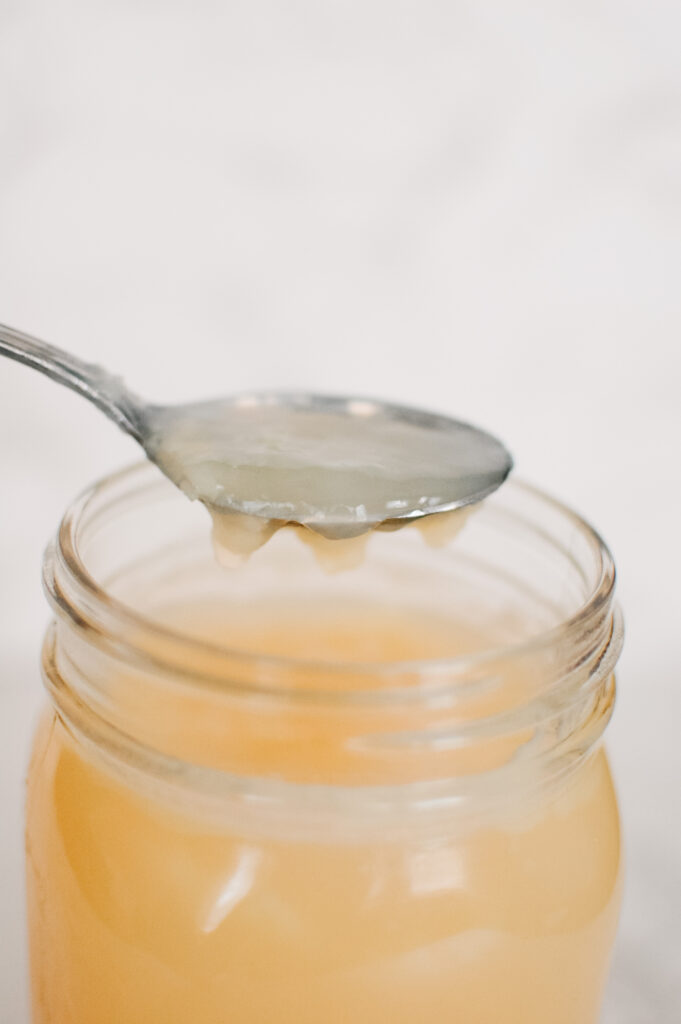
Myth: Liquid broth is as good as gelled broth
Truth: Gelled broth is superior. This means you successfully pulled all the collagen & gelatin from the bones.
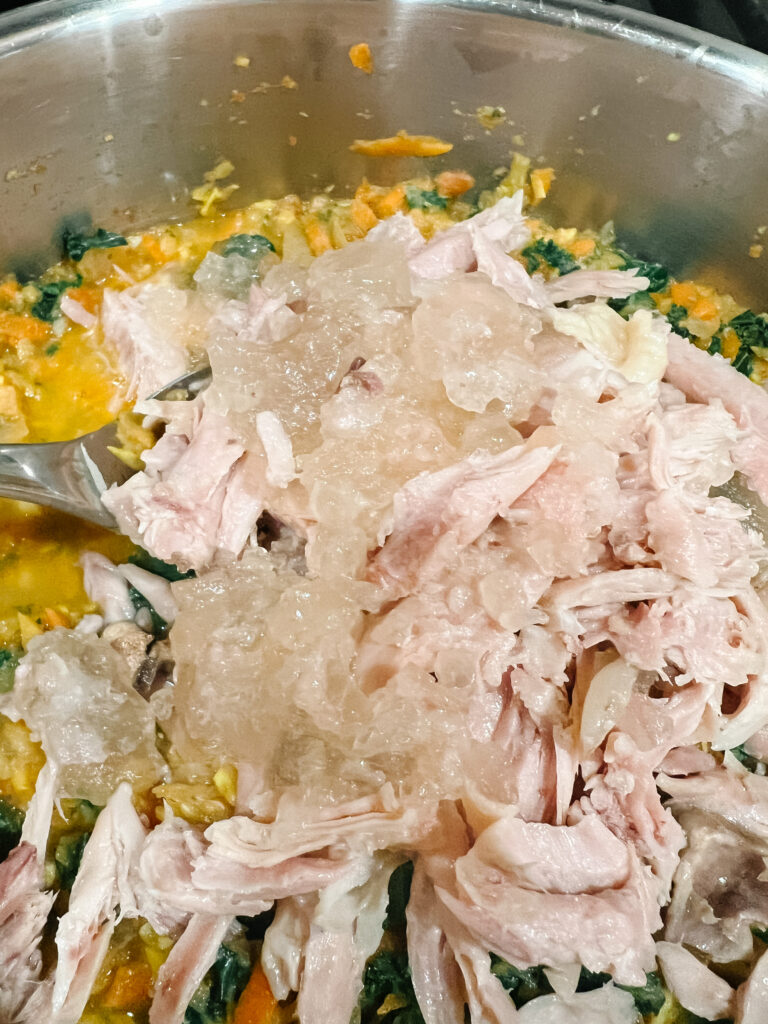
Tips on Making the Best Gelled Broth:
- Add the bones & vegetables to a pot. Add water, but just barely enough to cover the bones. This is key to getting it to gel!
- An Instant Pot is excellent because it holds a steady heat at the correct temperature. Cook it for no more than an hour in an IP.
- Chop vegetables rather than leave them in big chunks to give more surface area to pull nutrients from.
- Add those giblets! The neck, heart, etc, all have benefits. Even the feet! I haven’t ever shown feet in broth because it’s super gross looking.
What’s needed to make homemade broth?
- Leftover chicken bones – Chicken bones are the base of this broth and create a rich, flavorful base for soups, stews, and other recipes.
- Carrots – Carrots add a hint of natural sweetness to the broth while also adding important nutrients like vitamin A and beta-carotene.
- Celery stalks – Celery adds depth of flavor to the broth and is also rich in antioxidants.
- Onion – Onion adds a pungent flavor to the broth and is often used as a flavor base in many recipes.
- Cloves garlic – Garlic adds a bold, savory flavor to the broth and is often used in soups and stews.
- Bay leaves – Bay leaves add a subtle, earthy flavor to the broth and are often used in soups and stews. Be sure to remove the bay leaves before serving as they are not meant to be eaten.
- An Instant Pot – This makes cooking broth incredibly easy!
- Strainer basket for the Instant Pot – Put everything in this basket and lift out when done!
FAQs for Making Homemade Broth
Can I use other bones besides chicken bones?
Yes, you can use beef, pork, or fish bones to make broth as well. Each will produce a slightly different flavor, so choose the type of bone based on the dish you’re making.
Can I add other vegetables to the broth?
Yes, you can add other vegetables like leeks, parsnips, or turnips to the broth, depending on your preference. Just keep in mind that adding too many vegetables can overpower the flavor of the broth.
How long should I simmer the broth?
It’s best to simmer the broth for several hours to extract all the flavors and nutrients from the bones and vegetables. A good rule of thumb is to simmer the broth for at least 4-6 hours, but you can simmer it for up to 24 hours for a richer, more complex flavor. If using an Instant Pot, it only takes 1 hour!
Can I freeze homemade broth?
Yes, you can freeze homemade broth for up to 3 months. Just be sure to let it cool completely before transferring it to a freezer-safe container, leaving room at the top for expansion.
How should I store homemade broth?
A mason jar is a great way to store homemade broth. If there is a fat cap that forms on top, it will last as a seal and stay good for several weeks.
How to Use Homemade Broth
- As the base for soups: Whip up a nourishing pot of chicken noodle, vegetable, or minestrone soup.
- To cook grains: Add flavor to rice or quinoa by cooking it in homemade broth instead of water.
- As the foundation for sauces: Create delicious sauces, such as gravy or marinara, by starting with homemade broth.
- Flavor enhancer for meat gravies: Make meat dishes extra savory by using homemade broth as the base for gravies.
- In pureed vegetable dishes: Boost the flavor of mashed potatoes or pureed vegetables by incorporating homemade broth into the recipe.
- For braising meats: Braise tough cuts of meat, like pot roast or brisket, using flavorful homemade broth.
- In legume dishes: Add richness to lentils, beans, and chickpeas by using homemade broth in place of water while cooking.
- As the foundation for creamy rice dishes: Whip up a delectable risotto or other creamy rice dishes using homemade broth as the foundation.
- In homemade stuffing recipes: Add an extra layer of flavor to homemade stuffing by using homemade broth instead of water when making the recipe.
- In Asian-inspired soups and dishes: Build a complex, deeply savory flavor profile in hot and sour soup or other Asian-inspired dishes by using homemade broth as the base.
Watch me make broth here:
More Recipes to Check Out:

Homemade Broth
Ingredients
- Leftover chicken bones
- 3 carrots chopped
- 3 celery stalks chopped
- 1 onion cut in pieces
- 3 cloves garlic chopped
- 2 bay leaves
Instructions
- Put everything in an instant pot and just barely cover with water. Process for 60 min. on high pressure, let natural release and strain. Store in a glass container in the fridge.
Notes
Alternative option: Cook a whole chicken in the Instant Pot
Place vegetables in the bottom of the Instant Pot. Set chicken on top of the vegetables. Fill the pot with water, covering the chicken. Set the Instant Pot to high pressure for 6 minutes per pound of chicken. Let the Instant Pot naturally release. The chicken should reach 165 degrees in the thickest part of the thigh. Remove the chicken and pull the meat off the bone when cool enough, keeping all the bones. Strain the vegetables from the broth. Use the broth and chicken meat to make soup. Place the bones back in the Instant Pot and follow the directions above for a second batch of broth.
*Note – when making broth from a whole chicken, the first batch may not gel. This is because all the gelatin and collagen has not been pulled from the bones. The second batch, made only with bones, should gel.


Leave a Reply

Hi! I'm Laura!
I’m on a mission to normalize nutrient dense food. By nutrient dense I mean foods that pack a punch because the amount or type of nutrient they offer is so incredible. So much of your health is in your own hands. That should feel empowering!!I wholeheartedly believe that when your gut health is in order, the rest of your life will take a healthy turn, too! I promise that whenever you decide to try one of my recipes, you can trust that you are providing your family a healthy, nourishing, and incredibly tasty experience!
Sign Up For Tips & Tricks
Latest Recipes
February 22, 2026
Sourdough Lemon Blueberry Scones

October 2, 2025
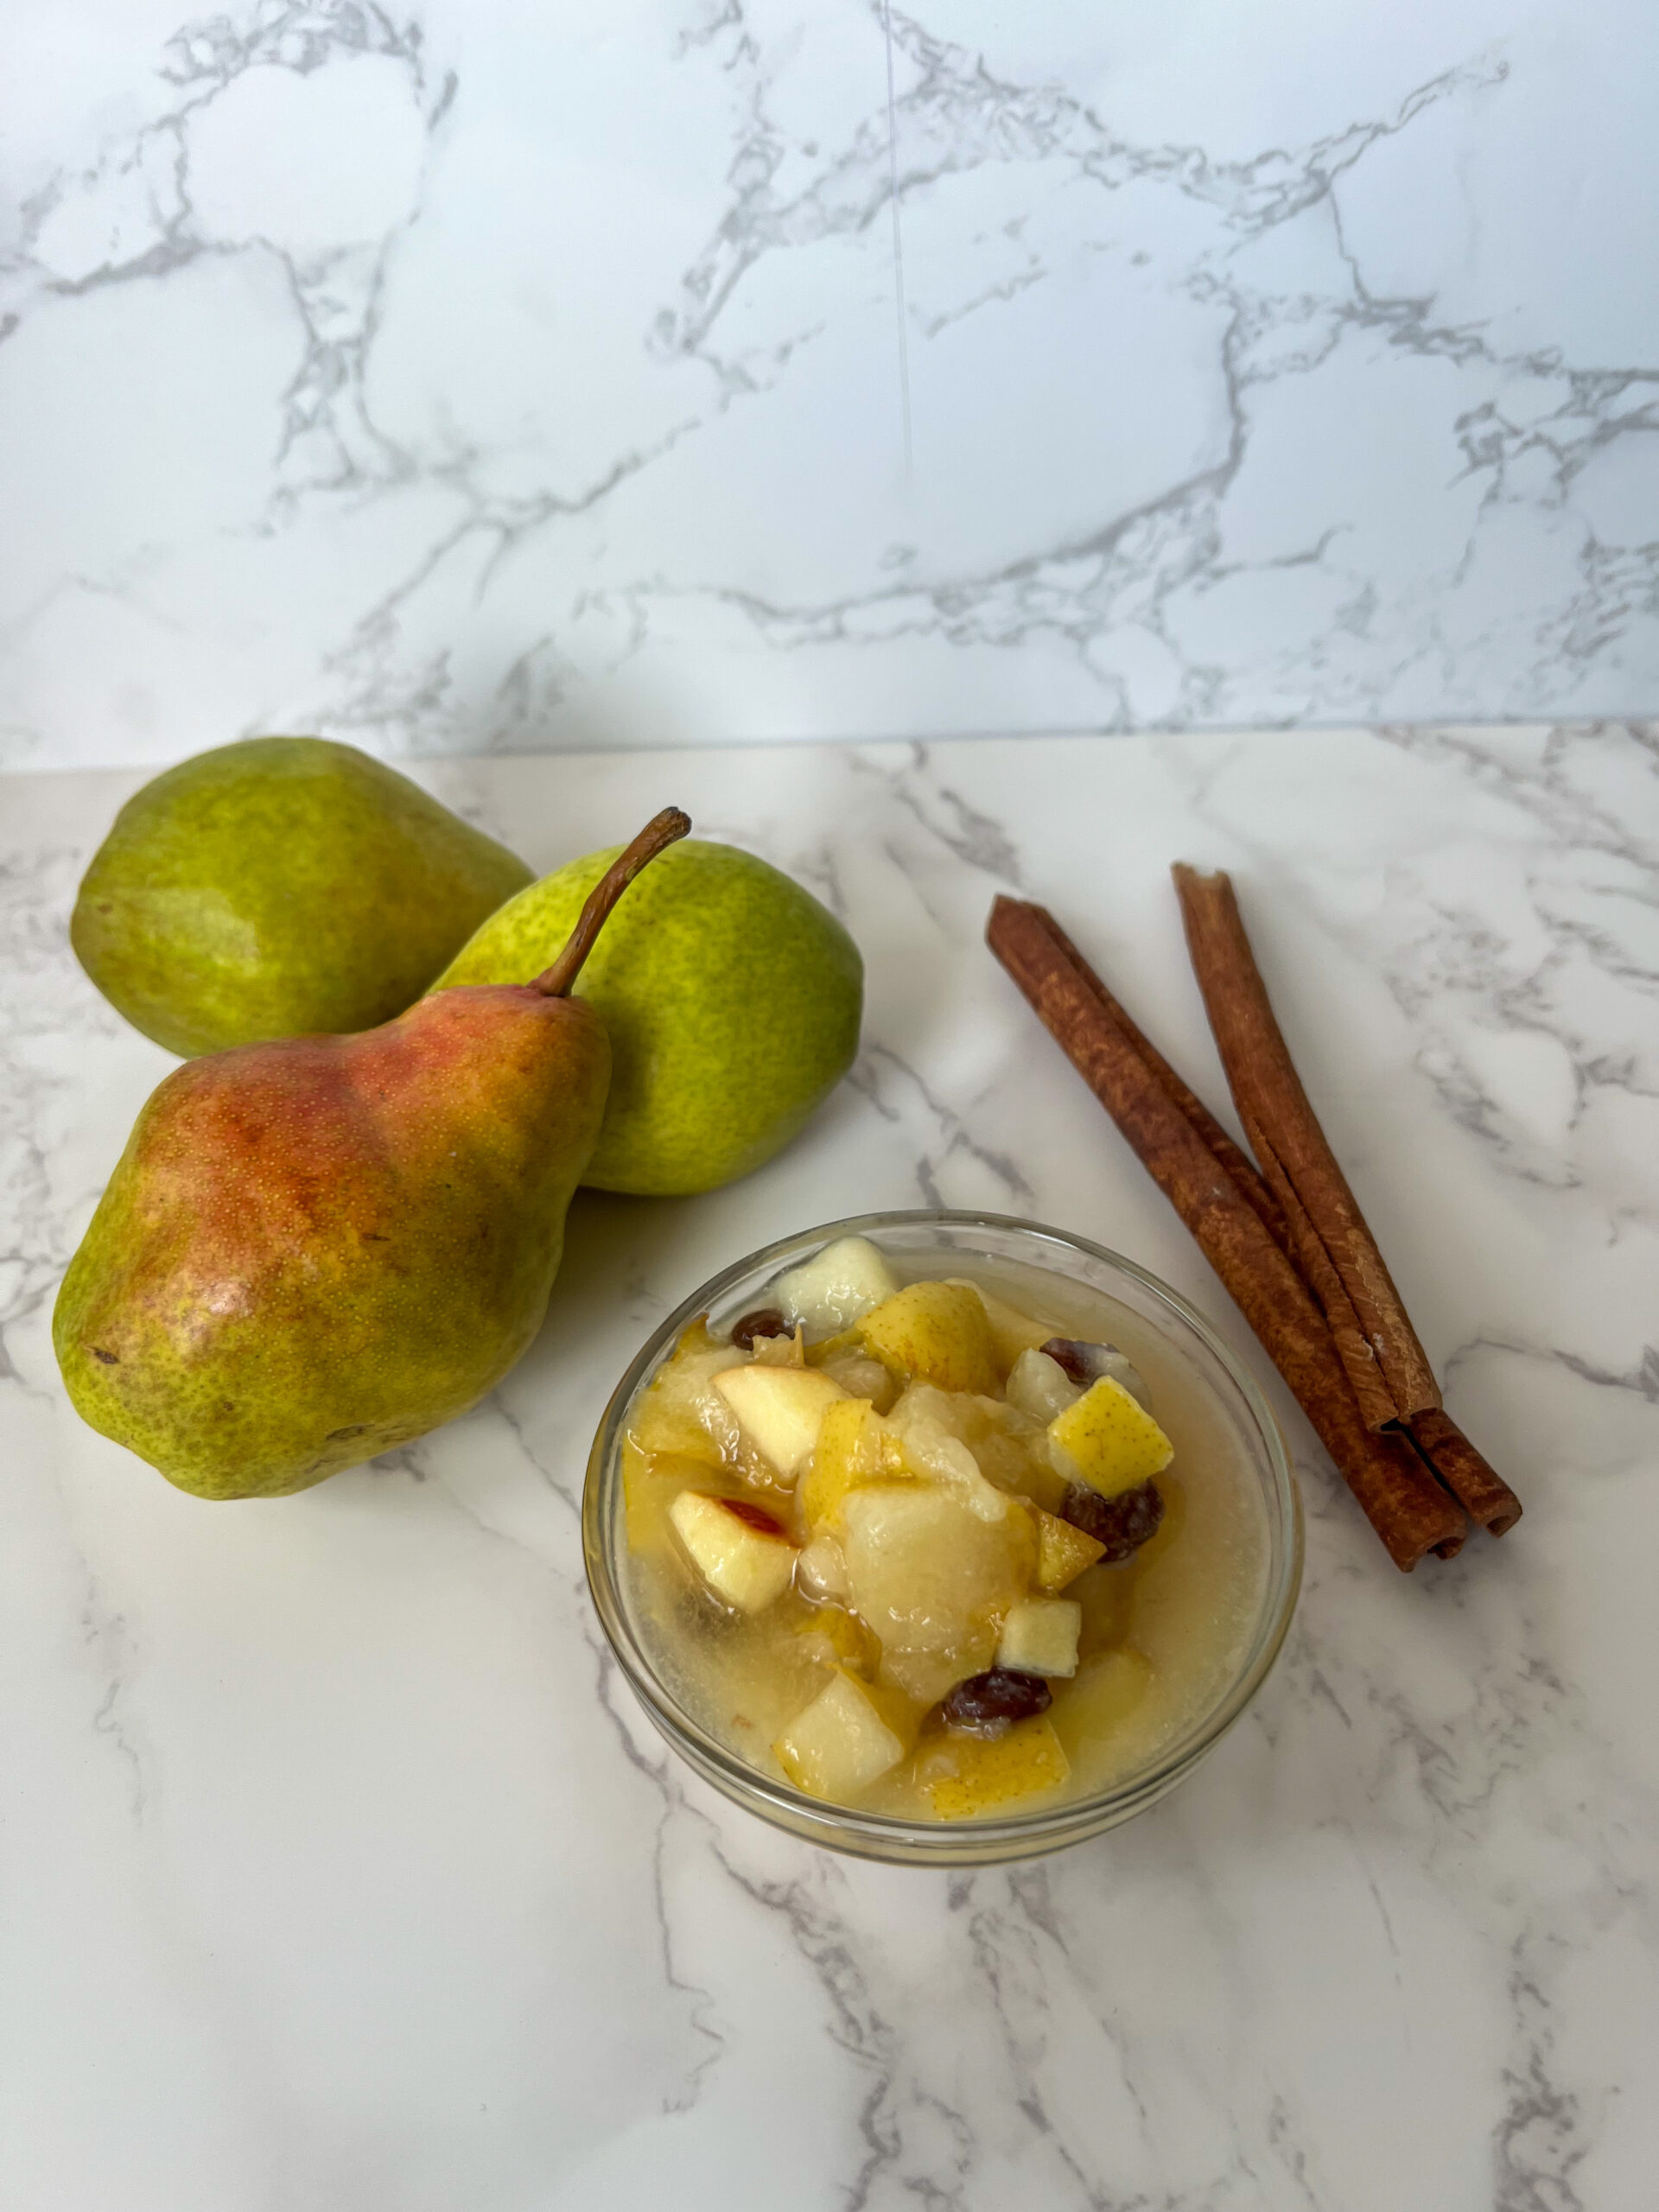
How to Make Fermented Pears with Apple, Ginger, and Spices (Probiotic Fruit Recipe)
April 3, 2025
Easy Sourdough Bread for Beginners
February 25, 2025
Sourdough Bagels

February 18, 2025
Sourdough Chocolate Chip Cookies with Browned Butter

See All
How long should I cook it in my Dutch oven or crock pot? I don’t have an instant pot. Thank you!
Author
8-12 hours, or some let it go for 24 hours 🙂
Hi! How long will the bone broth last in the fridge?
Author
5-7 days. It freezes well, too 🙂